
🪴 In This Guide 🪴
We may earn a commission when you buy through these links. How we choose products →

🧬 Monstera Adansonii Nodes: What to Cut and Why
What a Node Looks Like
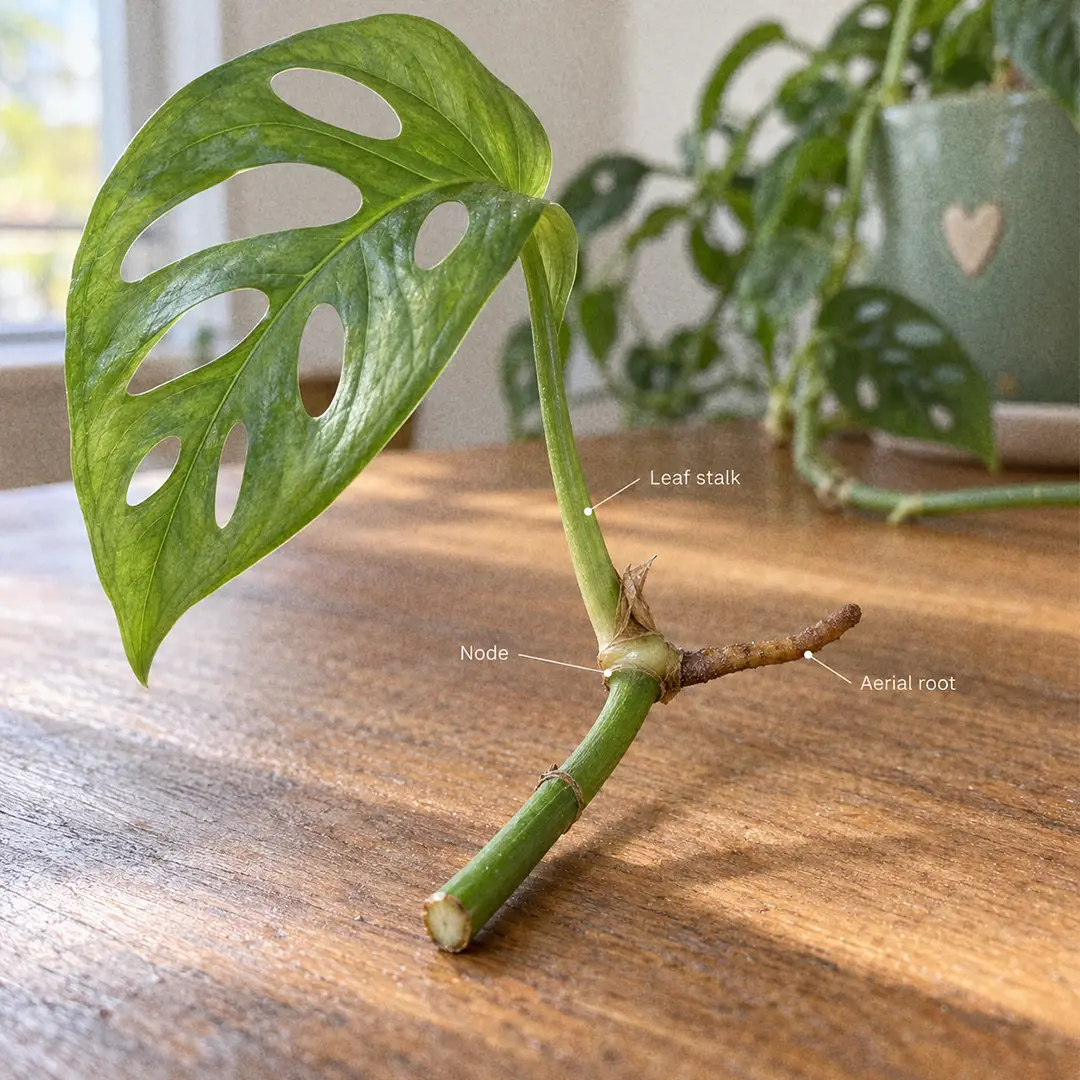
A node is the slightly thickened ring on the vine where a leaf stalk (the petiole) joins the stem. Look just above and beside that joint and you will see a small, brown, scale-like bud, plus a faint line running around the stem. That spot holds everything a new plant needs. Roots grow from it, and a new vine can grow from the dormant bud tucked in the leaf axil.
The bare stretch of vine between two nodes is the internode. It cannot make roots or leaves on its own, so there is no point keeping long lengths of it on a cutting.
Aerial Roots Give You a Head Start
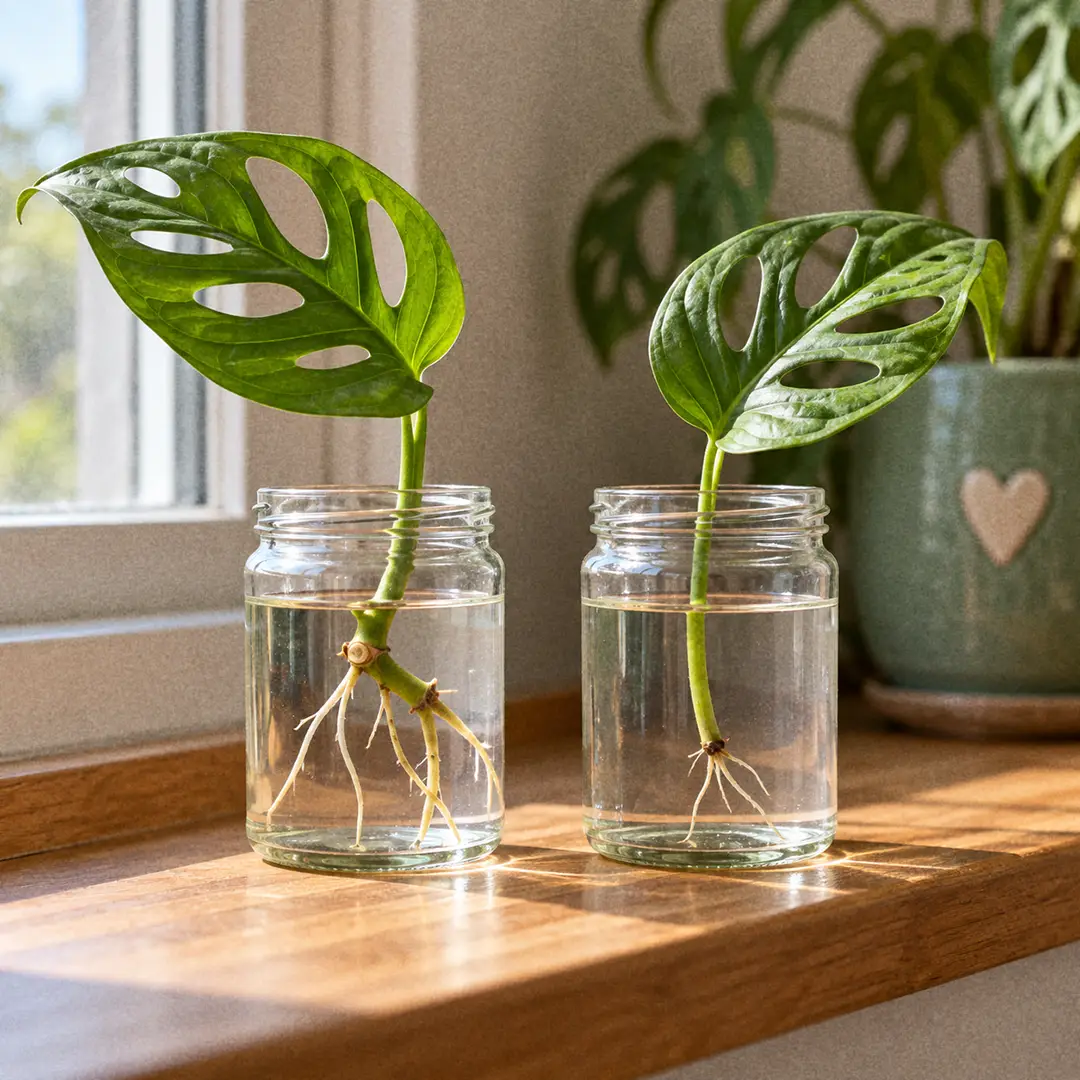
On a healthy adansonii, many nodes already carry a short brown nub or a thin, cord-like aerial root. In the wild those roots grip tree bark. On a cutting, they switch to feeding roots once they sit in water or moist moss, and they often branch within days. When you choose where to cut, a node with an aerial root is the best pick you have.
The Zombie Leaf Trap
This is the most common way adansonii propagation goes wrong. Someone snips a leaf off at the base of its stalk, stands it in water, and it grows roots. It stays green for months. It never grows a new leaf, because the growing bud sits on the vine at the node, and the leaf stalk left it behind.
People call these zombie leaves. They are alive but they cannot become a plant. Before you drop anything into a jar, check that there is a piece of the main vine with a node at the bottom of the leaf stalk. If you only see a clean stalk end, that cutting will never grow on.
How to Take a Good Cutting
Spring and summer give the fastest results, although adansonii will root year round in a warm home. Use clean, sharp scissors or pruners and wipe the blades with rubbing alcohol first.
Cut about half an inch (1 cm) below a node, and leave a similar stub of internode above the next node if you are making several pieces from one vine. Each cutting needs at least one node and ideally one or two leaves. A two-node cutting has a spare in case one rots. Tip cuttings, which include the growing end of the vine, put out new leaves fastest because their bud is already active.
💧 Monstera Adansonii Water Propagation
Step by Step in Water
- Fill a clear glass or jar with room-temperature water. Filtered or tap water left out overnight both work.
- Stand the cutting so the node and any aerial root sit under the water. Keep the leaves above it, because submerged leaves rot and foul the water.
- Put the jar in bright, indirect light, somewhere around 70-80°F (21-27°C). A shelf near an east window is ideal. Direct sun on glass heats the water and feeds algae.
- Top it up as it evaporates and change the water completely every 5-7 days, or sooner if it goes cloudy.
Our water propagation guide has a longer walkthrough that applies to most vining aroids.
Pros and Cons of Water
Water is the method I recommend for a first try. You can see the roots, so you know exactly when to pot up, and you spot rot the moment the stem darkens. The downside is the move to soil later. Roots grown in water are thinner and more brittle than soil roots, and cuttings often sulk for a couple of weeks after the switch. The potting up section below covers how to make that easier.
🌿 Rooting Adansonii Cuttings in Sphagnum Moss
Step by Step in Moss
- Soak a handful of long-fibre sphagnum moss in water for 10-15 minutes, then squeeze it until it feels like a wrung-out sponge. Dripping moss rots stems.
- Loosely fill a clear cup or small container and press the node of each cutting into the moss so the node and aerial root are covered.
- Cover the container with a clear bag or lid, leaving a small gap for air, or use a lidded storage box as a mini greenhouse.
- Keep it in bright, indirect light and warm. Lift the lid every few days to air it and re-dampen the moss if it starts to feel dry.
Pros and Cons of Moss
Moss gives you roots that are closer to soil roots, so the move into a pot is gentler. The humid box also suits leafless node pieces and weak cuttings that would rot in a jar. The trade-off is that you cannot see much. You have to tug very gently to check for resistance, and moss kept too wet is the fastest way to rot a thin adansonii stem.
🪴 Propagating Monstera Adansonii Straight Into Soil
Step by Step in Chunky Mix
- Fill a small pot with drainage holes with the same airy aroid mix the main adansonii guide recommends: 1 part potting soil, 2 parts orchid bark, 1 part perlite and 1 part coco coir.
- Moisten the mix before planting, then bury the node about half an inch (1 cm) deep. Pin longer cuttings flat so the node touches the mix.
- Cover the pot loosely with a clear bag to hold humidity, and keep it warm and bright.
- Keep the mix lightly and evenly moist for the first few weeks. It should never be soggy, but this is not the time for the dry-down watering a mature plant gets.
Pros and Cons of Soil
Soil skips the transplant step entirely. The roots grow in the medium they will live in, so there is no shock later, and it suits people who forget to change jar water. The catch is that you are working blind for weeks. New growth, or firm resistance when you tug gently, is the only sign of roots. Our soil propagation guide covers the general technique.
🧗 Air Layering Monstera Adansonii on the Vine
Rooting on a Moss Pole
This is the lowest-risk method of all, because the cutting stays attached to the mother plant and keeps drinking through the vine. If your adansonii climbs a moss pole, keep the moss damp and tie a vine so its nodes press against it. Aerial roots will grow into the moss within a few weeks. Once a node has a few roots anchored in the pole, cut the vine below it and pot up that section, or simply leave it to fill the pole out.
Wrapping a Node in Moss
For a trailing plant, pick a node with an aerial root partway along a vine. Wrap a fist-sized ball of damp sphagnum around it, then cover the ball with plastic wrap or a small clear bag tied at both ends. Check it weekly and add a splash of water if the moss dries. When you can see roots 1-2 inches long through the plastic, cut the vine just below the moss ball and pot it up, moss and all. Our air layering guide shows the same wrap on bigger plants.
Pinning a Vine Into Another Pot
The simplest version needs no moss. Set a small pot of moist mix next to the mother plant, lay a trailing vine across it, and pin a node down onto the surface with a bent paperclip. Roots form in the new pot, and you snip the connection once the new section grows its own leaf. It is slower than a jar, but I have almost never seen this fail.
⏱️ Rooting Timeline and When to Pot Up
How Long Adansonii Takes to Root
In a warm room, most cuttings show their first roots within 1-3 weeks in water or moss. Cuttings that already had an aerial root are usually quickest. Soil cuttings are on a similar schedule, you just cannot see it. The first new leaf usually follows 3-6 weeks after rooting, faster on tip cuttings. In a cool winter room, everything can take twice as long.
When Roots Are Long Enough
Pot up water cuttings once the roots are 1-2 inches long, ideally with a few small side roots branching off. Leaving them in the jar much longer is a common mistake. Long, water-grown roots have a harder time adjusting, and a cutting that sits in water for months tends to stall.
Moving Water Roots to Soil Without Shock
Water roots are built for a wet world, so the trick is to change conditions gradually. Plant the cutting in a small pot of the chunky mix, water it well, and then keep the mix evenly moist (not wet) for the first two to three weeks. After that, switch to the adult routine of letting the top 1-2 inches dry out.
A gentler option is to add a spoonful of your potting mix to the jar every few days, so the water slowly becomes mud before you move it. Either way, expect one or two older leaves to yellow while new soil roots form. That is normal.
🌳 Getting a Fuller Monstera Adansonii
Plant Several Cuttings in One Pot
A single rooted cutting grows one vine, and one vine looks sparse for a long time. For a full plant, root five or six cuttings at once and plant three to five of them together in a 4-6 inch pot. Space the nodes around the centre and angle the leaves outward. After a season they merge into what looks like one bushy plant.
The same trick works for the mini monstera, which is a different genus but propagates from nodes in exactly the same way.
Prune the Mother Plant for Back-Budding
Taking cuttings also helps the mother plant. When you cut a vine above a node, the dormant bud at that node (sometimes the one below it too) usually wakes up and starts a new branch. This is back-budding, and it is how you turn a few long, leggy strands into a denser plant.
Cut in spring or summer, when the plant has the energy to respond. Stagger your cuts along different vines rather than chopping everything to the same length, so the pot fills in at several heights. Then pot the cuttings back into the top of the mother plant's pot if it looks thin at the base.
🛠️ Troubleshooting Monstera Adansonii Propagation
Rotting or Mushy Stems
A cutting that turns brown, black or soft at the waterline is rotting. Adansonii stems are thin, so rot moves fast. Take the cutting out, cut back to firm, green tissue above the rot, and restart it in fresh water or slightly drier moss. If the rot has reached the node, that node is gone. The usual causes are leaves sitting in the water, water left unchanged for too long, or moss and soil kept soggy.
Roots but No New Leaf
First, check that it is not a zombie leaf with no node. If there is a node, the bud is probably just slow to start. Mid-vine cuttings have to wake a dormant bud, which can take several weeks after rooting, while tip cuttings grow on right away. Warmth, more light and potting up once roots are ready usually get it moving. A cutting left in water for months often will not push a leaf until it goes into soil.
Yellowing Cutting
One older leaf turning yellow while roots form is normal. The cutting pulls resources from that leaf to build roots. Let it drop. If every leaf yellows, or the stem goes soft, look for rot. A cutting kept too dark can also yellow slowly, so move it closer to a bright window. After potting up, yellowing leaves usually mean the mix is staying too wet.
New Leaves Coming Out Smaller
Expect the first leaves on a new plant to be smaller than the ones on the cutting, often with fewer holes. The young root system cannot support big leaves yet. Leaf size comes back as roots grow, with bright indirect light and something to climb. A trailing adansonii keeps small leaves, while one climbing a moss pole produces larger ones.
🧤 Safety When Propagating Monstera Adansonii
Sap and Skin
Like other Monsteras, adansonii contains insoluble calcium oxalate crystals, and the sap that beads up on fresh cuts can irritate skin. Wear gloves if you are taking a lot of cuttings, and wash your hands and tools afterwards.
Keep Jars Away From Pets
Monstera adansonii is toxic to cats and dogs. Ingestion can cause oral irritation, pain, drooling, and vomiting. A jar of dangling cuttings on a low table is very tempting to a curious cat, so root them somewhere pets cannot reach and throw trimmings straight in a closed bin.
For more on this vine and its relatives, see the complete Monstera adansonii care guide, our general propagation guide and the list of Monstera species.
❓ Frequently Asked Questions
Can you propagate Monstera adansonii from a leaf?
No. A leaf cut off at its stalk has no node, so it has no bud to make a new vine. It may grow roots in water and stay green for months, but it will never put out a new leaf. Every cutting needs at least one node.
How long does it take for Monstera adansonii cuttings to root?
In water or moss, the first roots usually show within 1-3 weeks when the room is warm. Cuttings that already carry an aerial root tend to be on the fast end. A new leaf often takes another 3-6 weeks after that.
Is it better to propagate Monstera adansonii in water or soil?
Water is the easiest to watch and the most forgiving for beginners. Moss and chunky soil produce roots that settle into a pot with less shock. All three work well, so pick the one you will actually keep an eye on.
When should I move my adansonii cutting from water to soil?
Once the roots are 1-2 inches long, and ideally when a few side roots have started to branch off them. Waiting until the jar is packed with long roots makes the switch harder, because long water roots struggle in soil.
Can I root a Monstera adansonii cutting with no leaves?
Yes, as long as the stem piece has a healthy node. A leafless node can root and push out a new shoot from its dormant bud, though it is slower than a cutting with a leaf. Lay it on damp moss rather than standing it in water.
Do I need rooting hormone for Monstera adansonii?
No. Adansonii roots readily on its own, and most cuttings already have an aerial root started. Warmth, bright indirect light and clean water make far more difference than hormone does.
How do I make my propagated adansonii look fuller?
Plant three to five rooted cuttings together in one small pot instead of one cutting per pot. Pinching the growing tip of the mother plant also pushes buds lower on the vine to branch.
🪴 See also 🪴
Complete Guide to Monstera Peru Care and Growth
Complete Guide to Monstera Thai Constellation Care and Growth
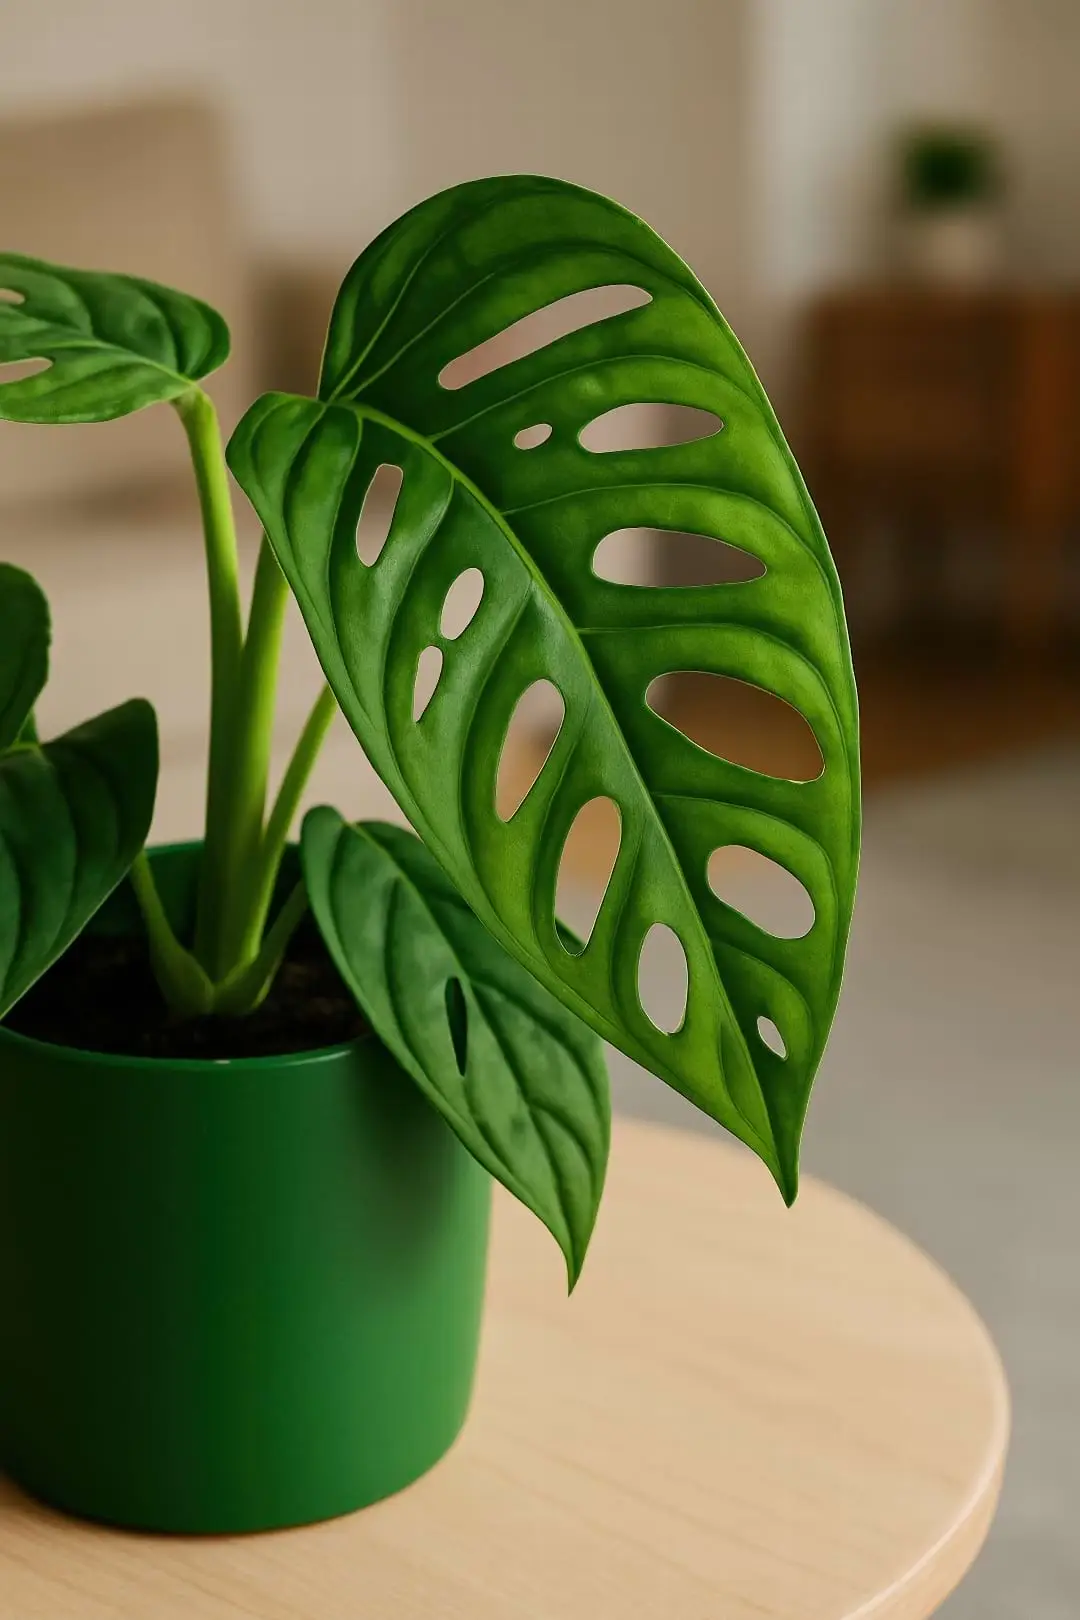
Complete Guide to Monstera Adansonii Care and Growth
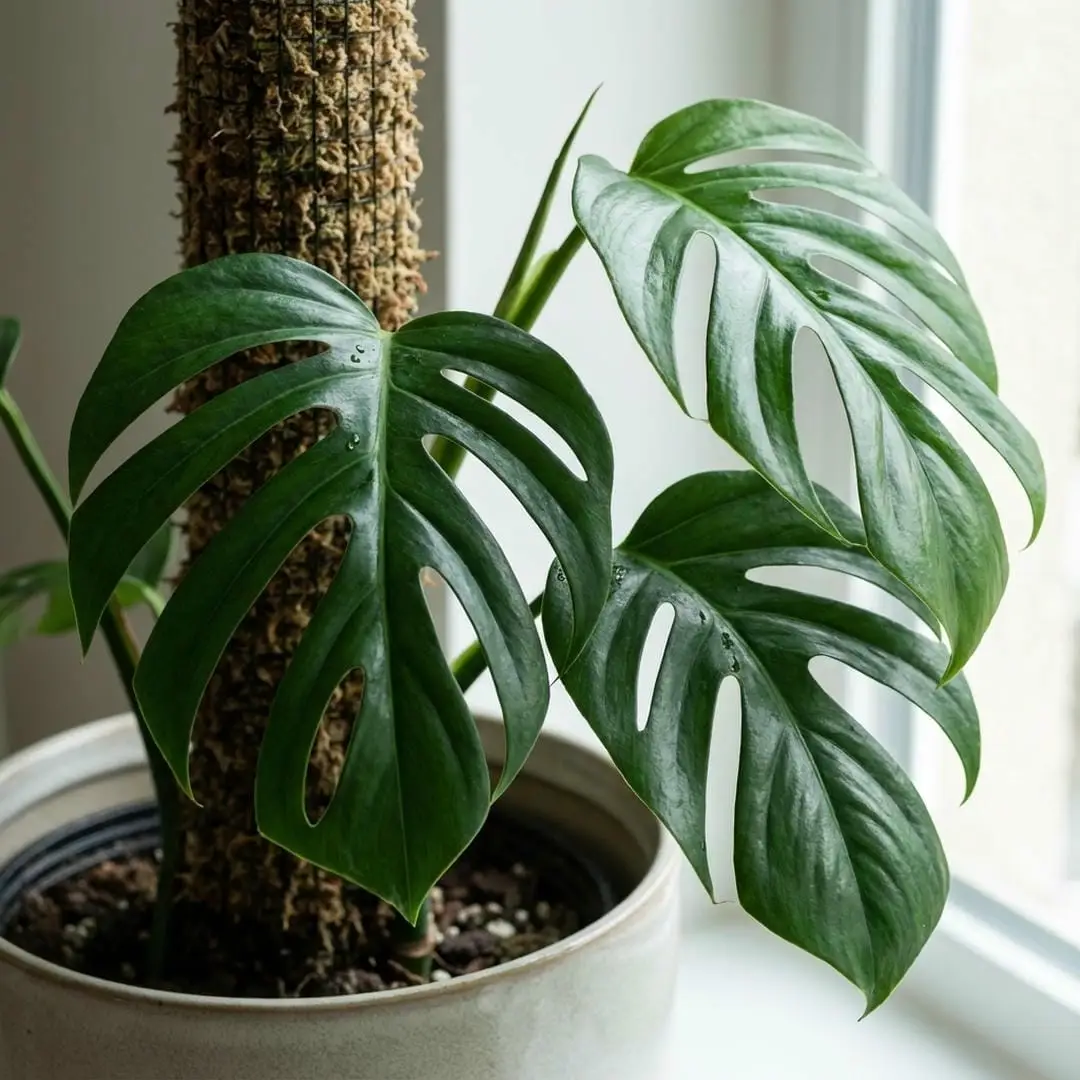
Complete Guide to Monstera Burle Marx Flame Care (The Bone Plant)
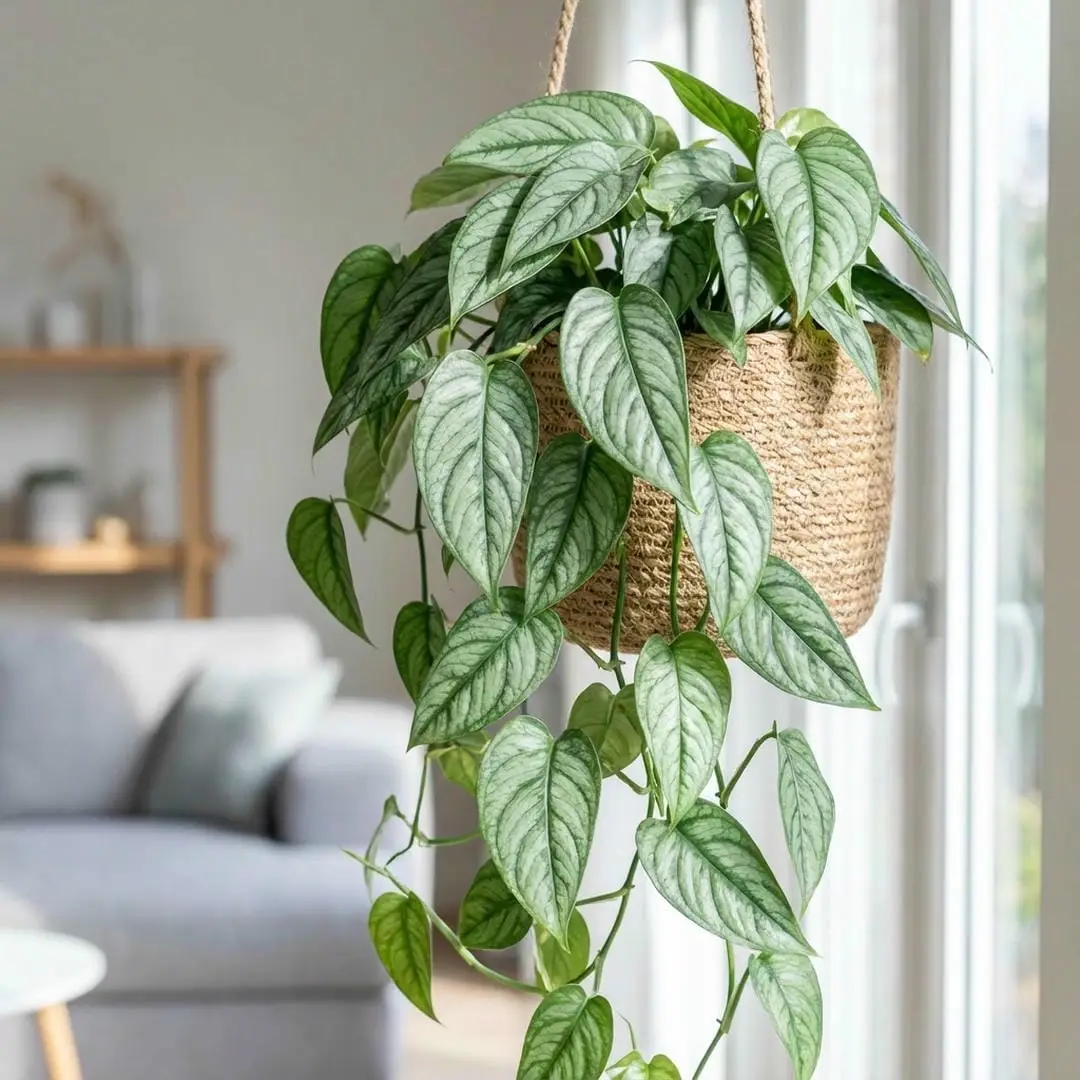
Complete Guide to Monstera Siltepecana Care (Silver Monstera)
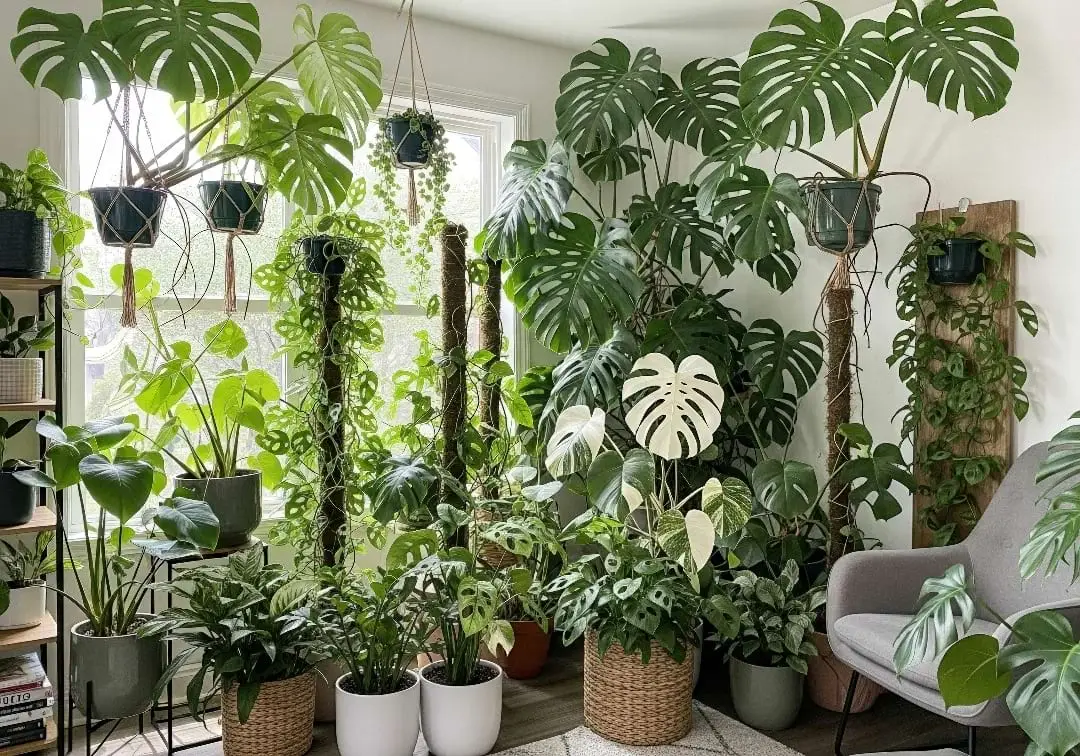
The A-Z List of Monstera Species: A Complete Botanical Guide
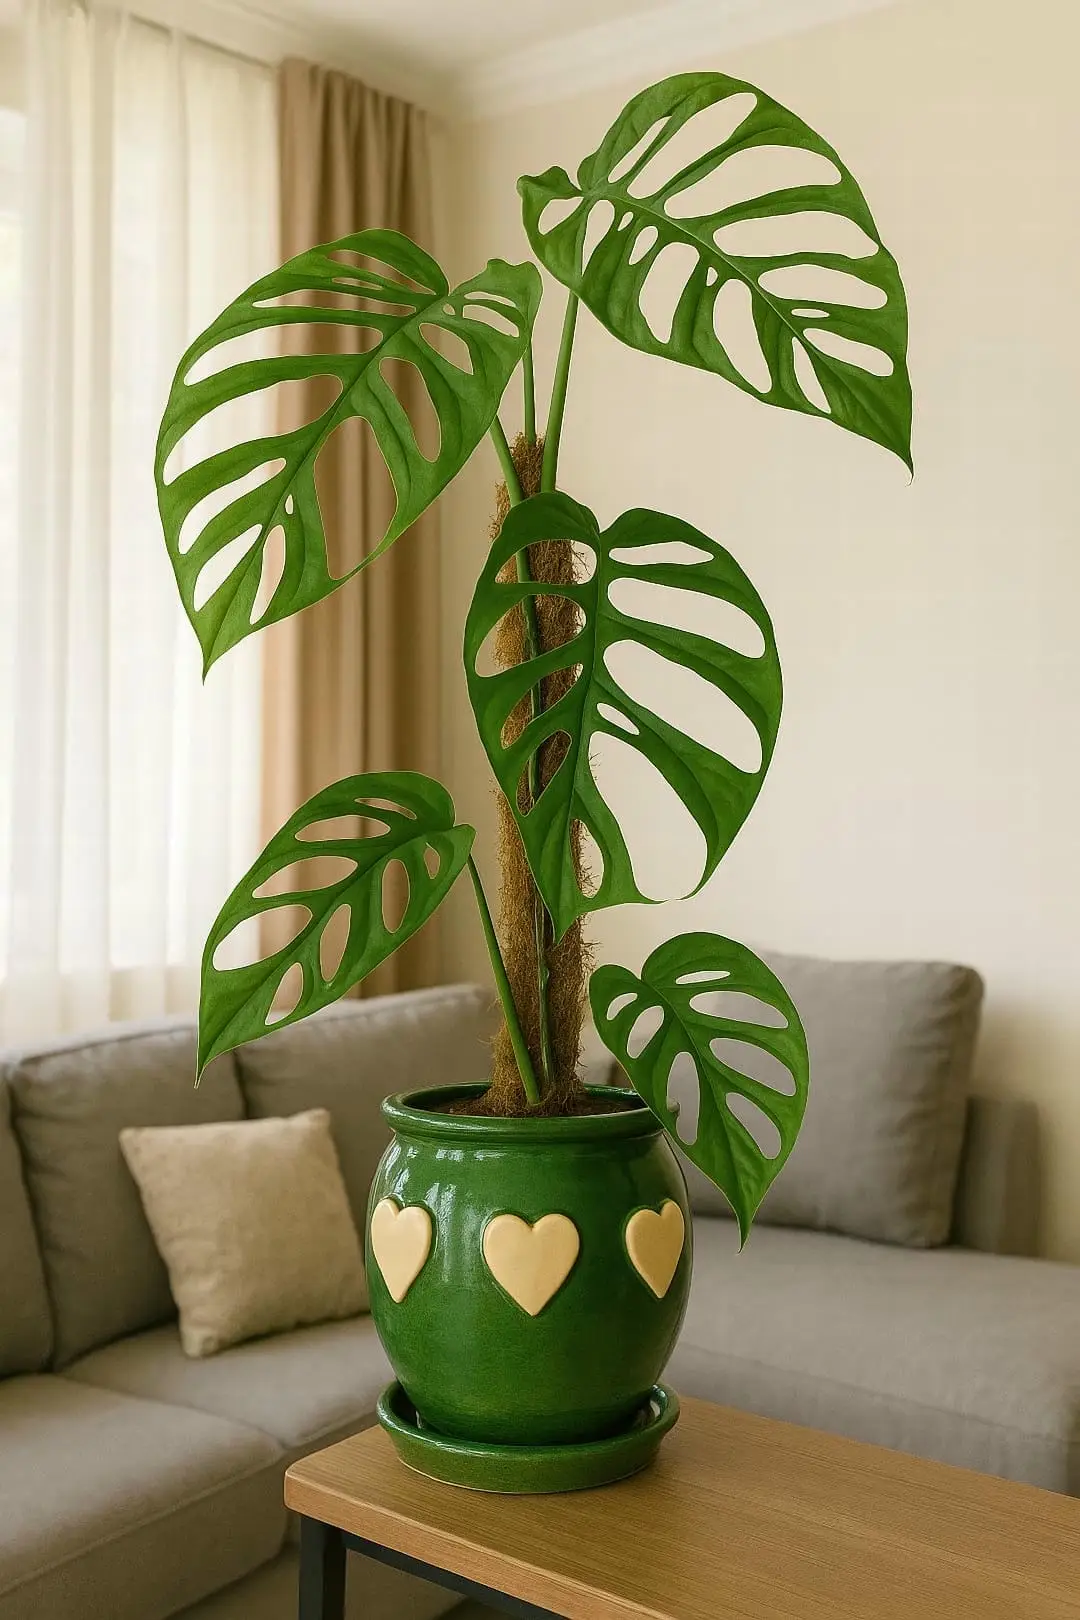
Complete Guide to Monstera Obliqua Care and Growth
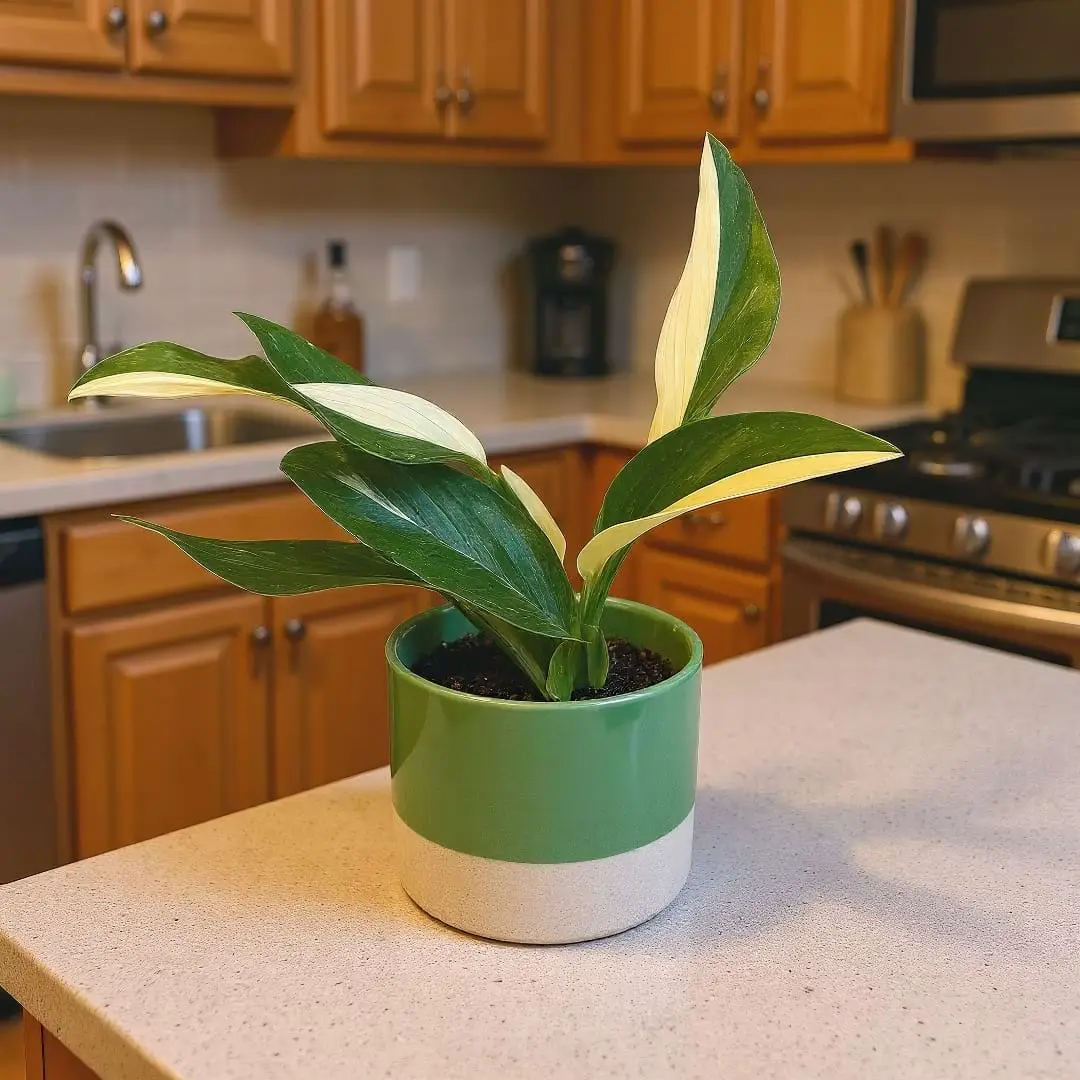
Complete Guide to Monstera Standleyana Care and Growth
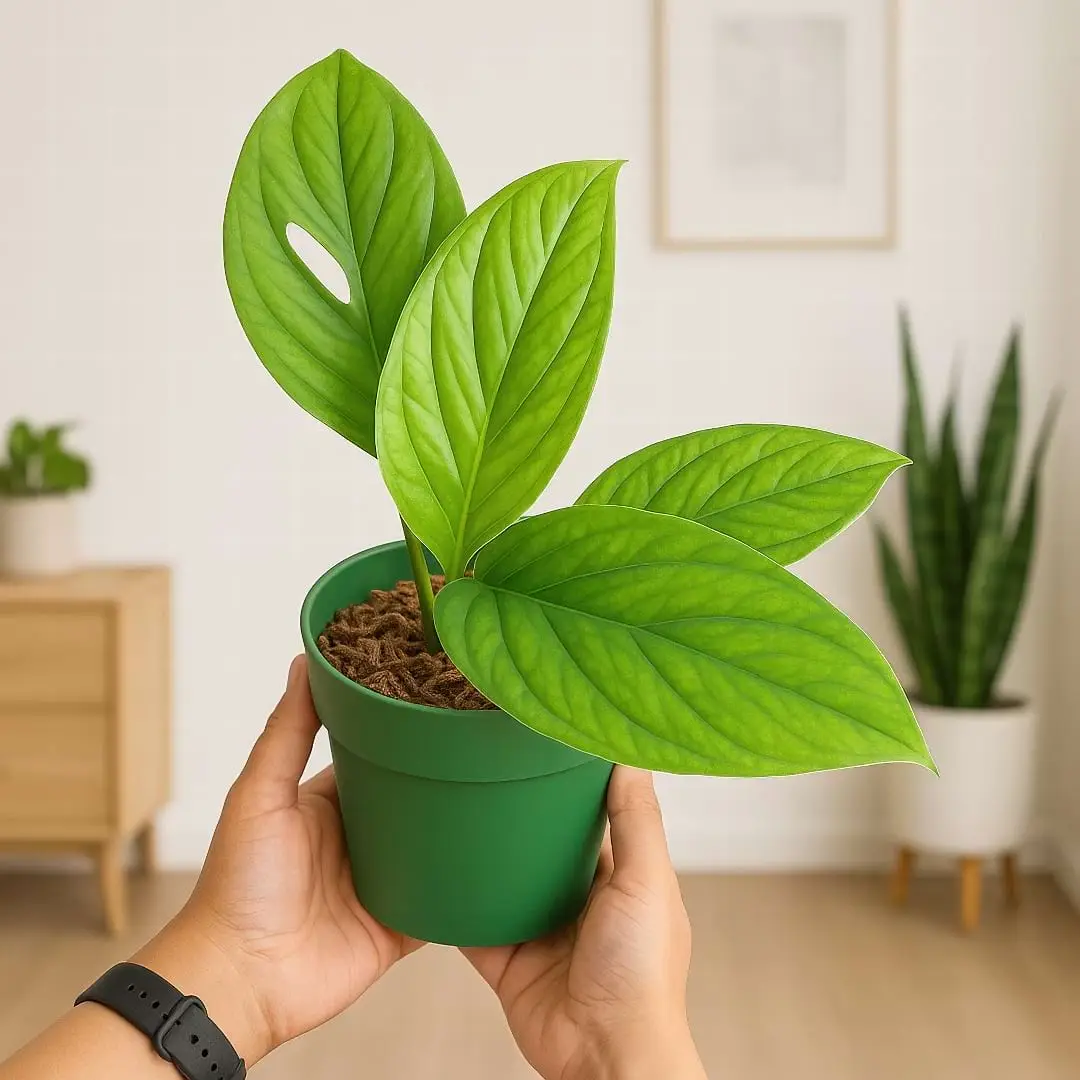
Complete Guide to Monstera Pinnatipartita Care and Growth
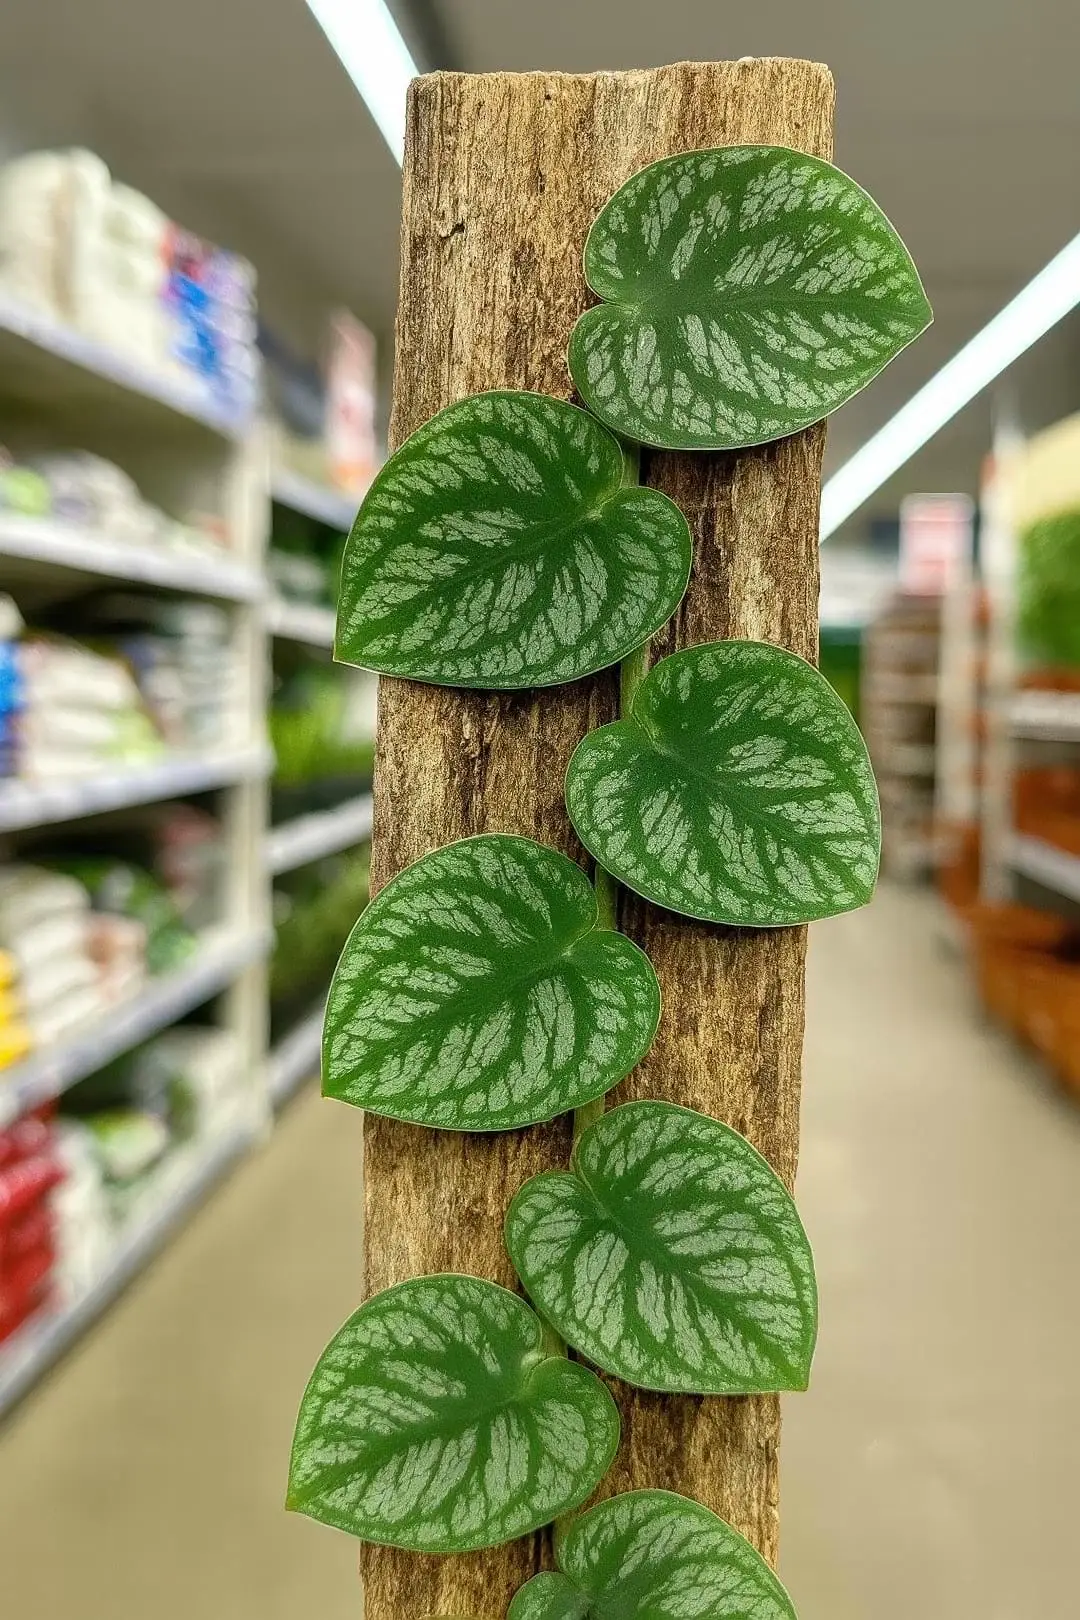
Complete Guide to Monstera Dubia Care and Growth

Houseplant101 Forum
Questions & Comments
Ask a question, share your plant experience, or help other plant owners.
Comments are temporarily unavailable.
Open the Houseplant101 ForumNo comments yet
Be the first to ask a question or share your experience about this page.
Log in or create an account
Comments use your Houseplant101 Forum account, but you can stay on this page.
Create a new account