
The Ultimate Guide to Houseplant Propagation: Create New Plants for Free!
Our complete beginner's guide to houseplant propagation. Learn how to take cuttings, propagate in water, divide plants, and more with easy, step-by-step instructions and photos.
Propagation Path: Start here before choosing a method.
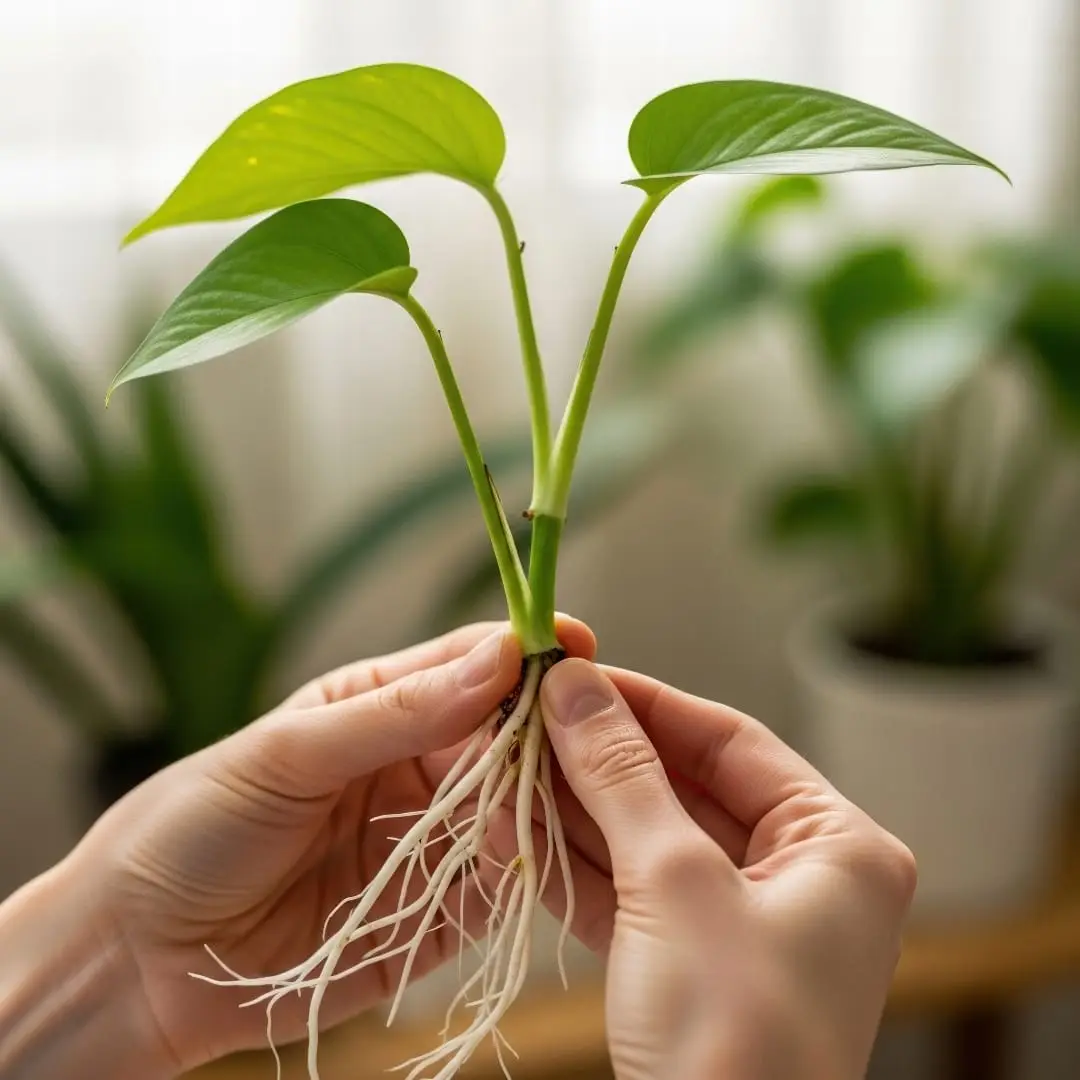
🪴 In This Guide 🪴
We may earn a commission when you buy through these links. How we choose products →

📺 Houseplant Propagation Video Guide
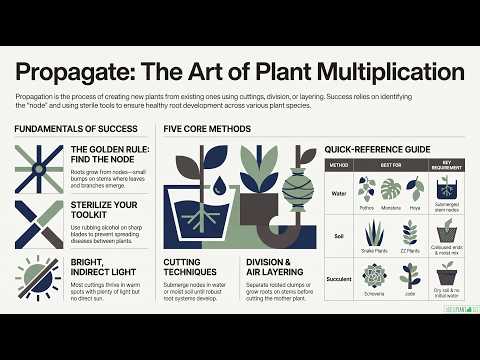
🛠️ Propagation Basics: Toolkit & The Golden Rule
Before we start snipping, let's cover the essentials. You don't need a fancy lab; most of these items are probably already in your home.
Your Essential Propagation Toolkit
- Something Sharp & Clean: A pair of scissors, pruning shears, or a craft knife. The most important rule is to sterilize your tool with rubbing alcohol before you cut to prevent spreading diseases.
- Vessels & Pots: Glass jars, old bottles, or small vases for water propagation. Small nursery pots with drainage holes for soil propagation.
- Growing Medium: Water for water propagation, or a light, airy potting mix for soil methods.
- Rooting Hormone (Optional): A powder or gel that can give your cuttings a helpful boost and increase the odds of success. We'll talk more about this later!

The Golden Rule: Find the Node!
This is the most critical piece of information for successful propagation. A node is a small bump or ring on a plant's stem where leaves, branches, and-most importantly-roots grow from.
If you take a cutting without a node, it will sit in water forever but will never grow roots. Always look for that little bump!

💧 Method 1: Stem Cuttings in Water
This is the classic, mesmerizing method where you can watch the roots grow day by day. It's perfect for beginners.

- Best For: Vining plants like Pothos, Philodendron, Monstera, Hoya, and Wandering Dude.
- How-To in a Nutshell:
- Cut a piece of healthy stem, ensuring your cutting has at least 1-2 leaves and one node.
- Remove any leaves on the lower part of the stem that would sit below the waterline.
- Place your cutting in a jar of water, making sure the node is submerged.
- Put it in a spot with bright, indirect light and change the water every few days.
👉 For a complete walkthrough on rooting and planting, read our detailed water propagation guide
🌱 Method 2: Cuttings in Soil
This method skips the water phase and roots the cutting directly in soil. It can lead to stronger, more robust roots from the start.
- Best For: Plants that can rot easily in water, like Snake Plants, ZZ Plants, Begonias, and Rubber Plants.
- How-To in a Nutshell:
- Take a stem or leaf cutting from the mother plant.
- (Optional but recommended) Dip the cut end into rooting hormone powder.
- Plant the cutting about an inch deep into a pot with moist, well-draining soil.
- Keep the soil lightly moist (not soggy!) and place it in a warm, bright spot.

⚖️ Water vs Soil: Which Should You Pick?
This is the question I get more than any other, and the honest answer is that neither method is better. They fail in different ways, and the right choice depends on the plant and on how much attention you want to give it.
The Trade-Off in One Table
| Water propagation | Soil propagation | |
|---|---|---|
| First roots appear | Often faster, 1-2 weeks | Usually slower, 3-6 weeks |
| You can see progress | Yes, which is half the fun | No, you have to trust it |
| Transplant shock | Common, this is the catch | None, the roots are already home |
| Fails when | The stem rots in the jar | The cutting dries out or stays soggy |
| Best for | Pothos, Philodendron, Monstera, Hoya, Tradescantia | Snake Plant, ZZ, Begonia, Ficus, succulents |
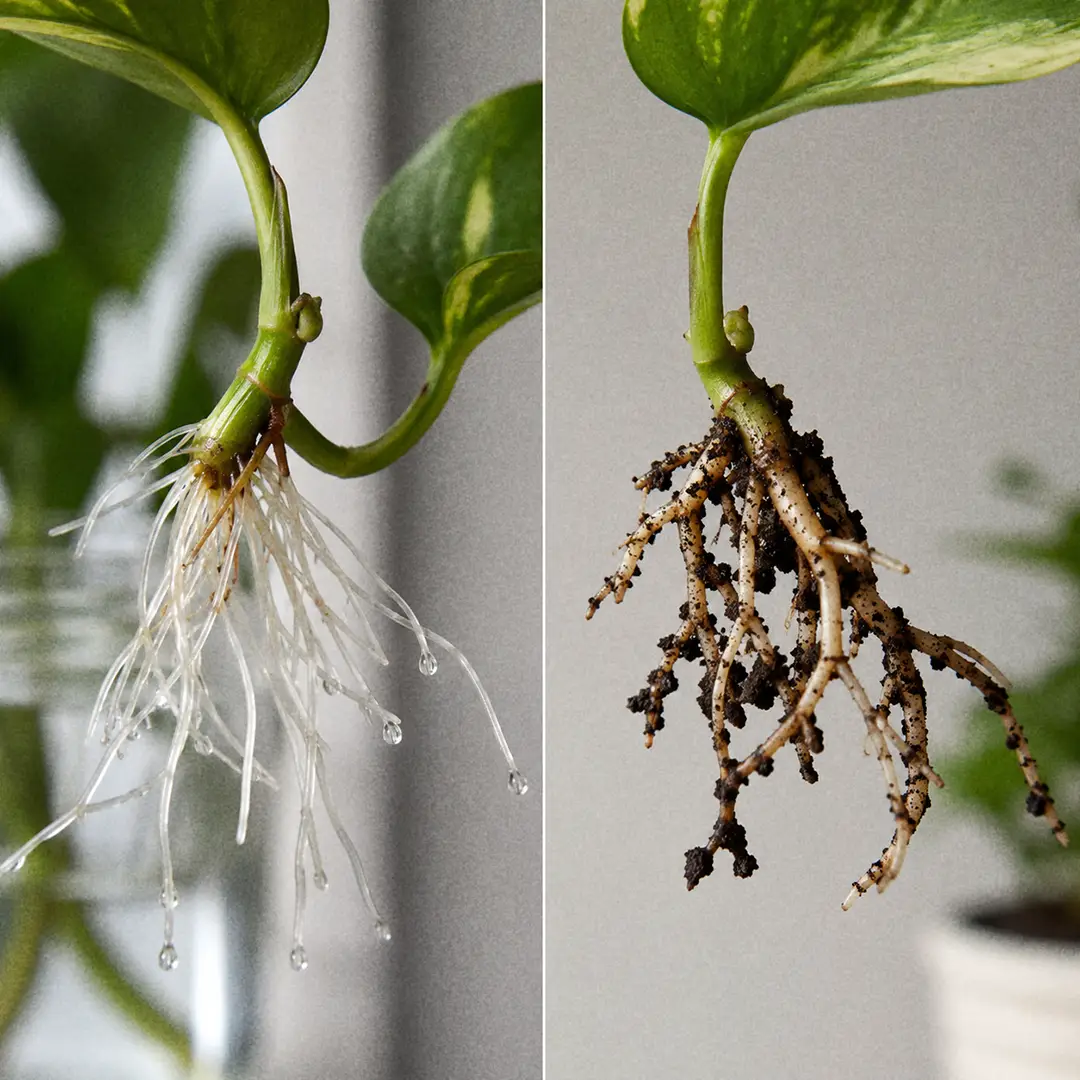
The important row is the third one. Water roots and soil roots are not the same structure: roots grown in water are thinner and more fragile, built for an environment where oxygen and water are freely available. When you move them into soil, many of them die back and the plant has to grow a second set. That stall is why a water-propagated cutting often sulks for a few weeks after potting, while a soil-propagated one just carries on.
So water propagation gets you visible roots sooner, and soil propagation gets you a settled plant sooner. Pick whichever matters more to you.
When Water Propagation Keeps Failing
If your cuttings rot in the jar rather than rooting, the usual causes are a cutting taken without a node, too many leaves left below the waterline, water that never gets changed, or a spot too dark and cold for the plant to do anything at all. Change the water every few days, keep only the top leaves, and put the jar somewhere genuinely bright.
Some plants simply resent it. English Ivy is the classic example: it will sit in water for two months producing a few weak threads, then collapse when potted. Ivy, Fiddle Leaf Figs, and most woody-stemmed plants root far more reliably straight into soil. If water has not worked for you twice with the same plant, that is the plant telling you something, not a technique problem.
Does Rooting Hormone Actually Help?
For water propagation, not much. The powder washes off and the plants people root in water are mostly ones that root easily anyway.
For soil propagation it earns its place, especially on the stubborn stuff: woody stems, Ficus, Ivy, thick-stemmed cuttings, and anything that has failed for you before. It contains auxins that push the cutting to form roots faster, and most formulas include a fungicide, which matters because a slow-rooting cutting sitting in damp soil is exactly what rot is waiting for. Dip the bottom inch of a fresh, dry cut, tap off the excess, and plant. More powder does not mean more roots.
✂️ Method 3: Plant Division
This is the simplest method of all-it's less like propagation and more like just splitting one big plant into several smaller ones.
- Best For: Clumping plants that grow from the base, like Calatheas, Ferns, Peace Lilies, and Spider Plants (by separating the main plant from its "pups").
- How-To in a Nutshell:
- Gently take the entire plant out of its pot.
- Carefully massage the root ball to loosen it and identify natural clumps or sections.
- Use your hands (or a clean knife if needed) to pull these sections apart, making sure each new clump has plenty of roots.
- Pot each new division in its own container with fresh soil.
- 👉 Get a visual guide for a safe and successful split in our article: The Complete Guide to Dividing Houseplants

🌵 Method 4: Succulent Propagation
Succulents are masters of regeneration. You can grow a whole new plant from a single fallen leaf!
- Best For: Echeveria, Sedum, Jade Plants, and most fleshy succulents.
- How-To in a Nutshell:
- Gently twist a healthy leaf off the main stem.
- Let the leaf dry and "callous" over for 2-3 days in a shady spot.
- Lay the calloused leaf on top of dry succulent soil.
- Place in bright, indirect light and wait. Do not water! In a few weeks, tiny roots and a baby plant will emerge.
- 👉 Master this delicate but magical process with our tips: How to Propagate Succulents from Leaves & Offsets

🎁 Method 5: Air Layering
This is a more advanced, sci-fi-looking method that's perfect for creating a new top for a plant that has gotten too tall and "leggy," like a Fiddle Leaf Fig. You'll grow roots right on the stem while it's still attached to the plant.
- Best For: Woody or thick-stemmed plants like Fiddle Leaf Figs, Rubber Plants, and large Monsteras.
- How-To in a Nutshell:
- Pick a spot on the main stem where you want new roots to grow.
- Carefully make a small, upward-slanting cut about one-third of the way through the stem.
- Wrap the wounded area in a handful of moist sphagnum moss.
- Cover the moss ball with plastic wrap and secure it.
- Once you see roots filling the moss (this can take months), you can cut the stem off below the new root ball and plant it.
- 👉 Ready for a fun project? Follow our detailed steps here: An Introduction to Air Layering for Indoor Trees

🪴 See also 🪴

Houseplant Light Guide: How to Find the Perfect Spot for Your Plant
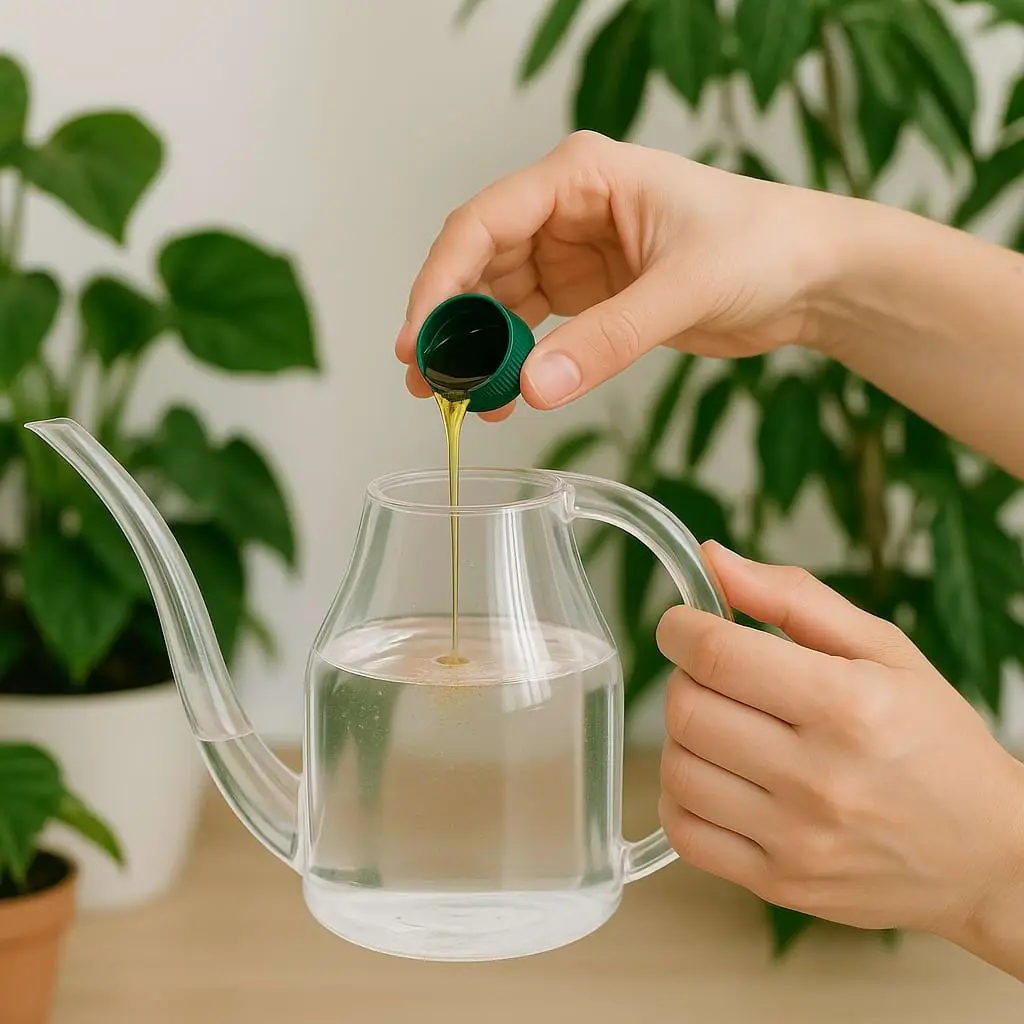
How to Fertilize Houseplants: A Simple Guide for Beginners
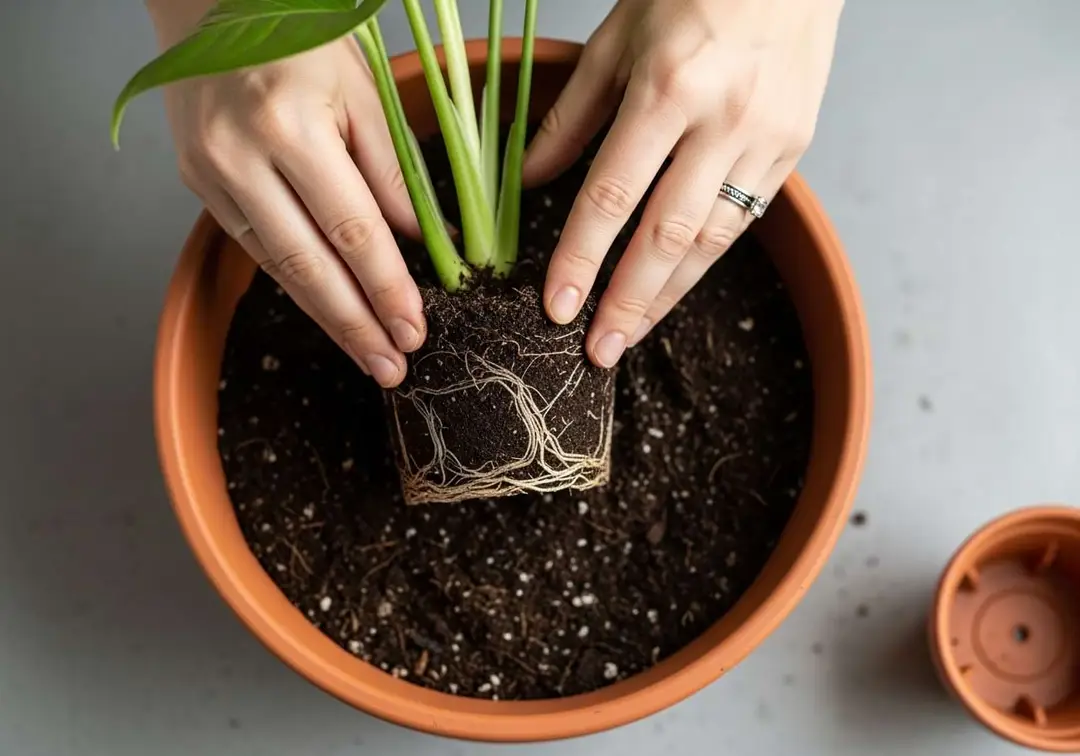
How to Repot a Houseplant Without Killing It (Step-by-Step Guide)
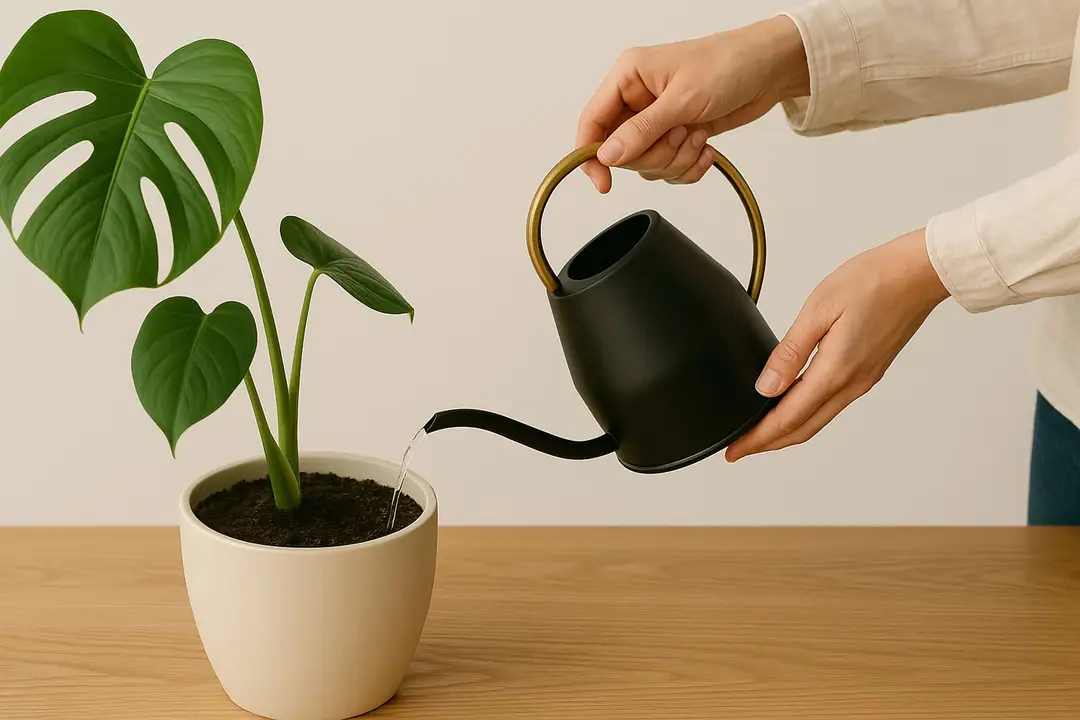
How to Water Houseplants: The Ultimate Beginner's Guide
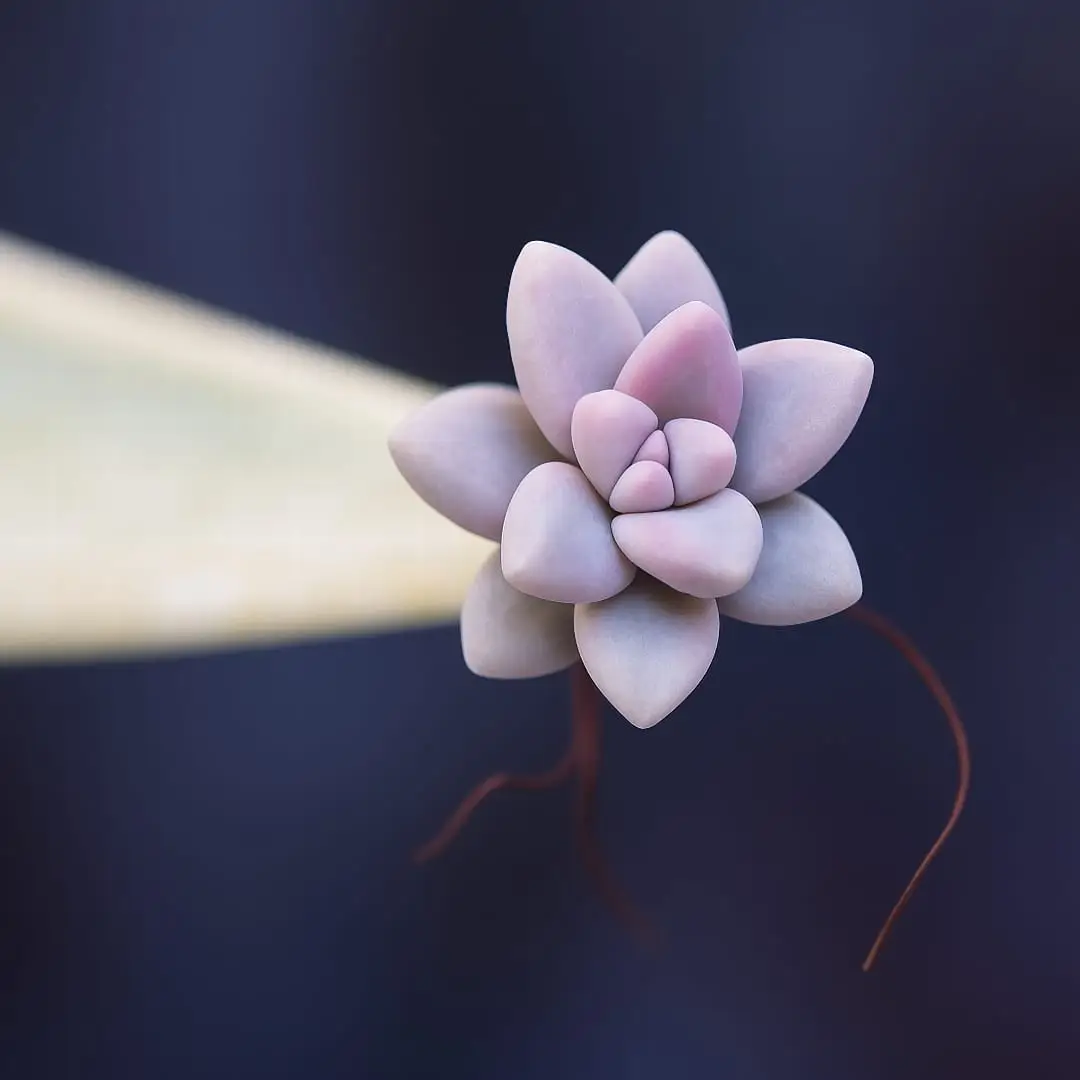
How to Propagate Succulents from Leaves & Offsets
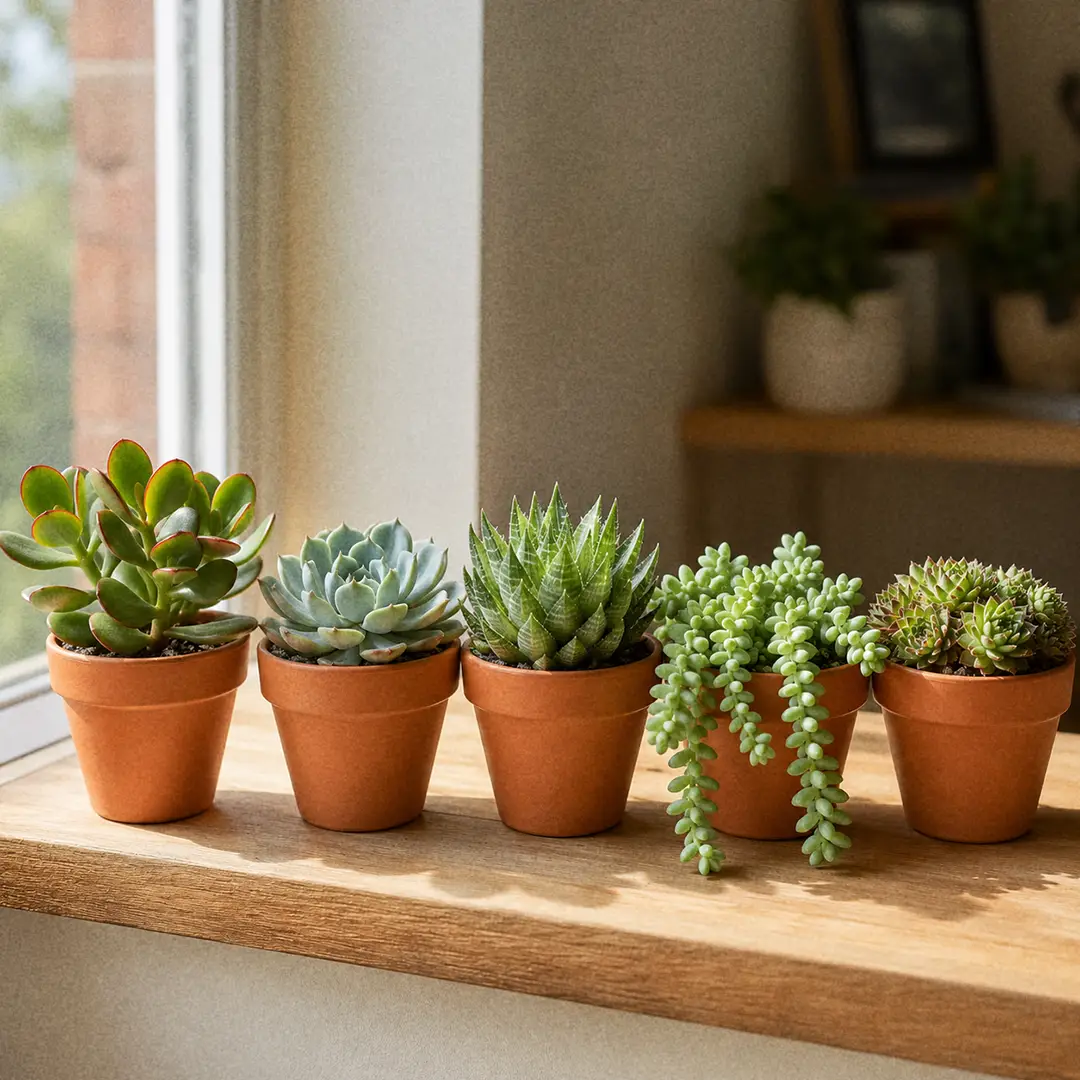
Succulent Care Indoors: How to Stop Killing Jade and Echeveria
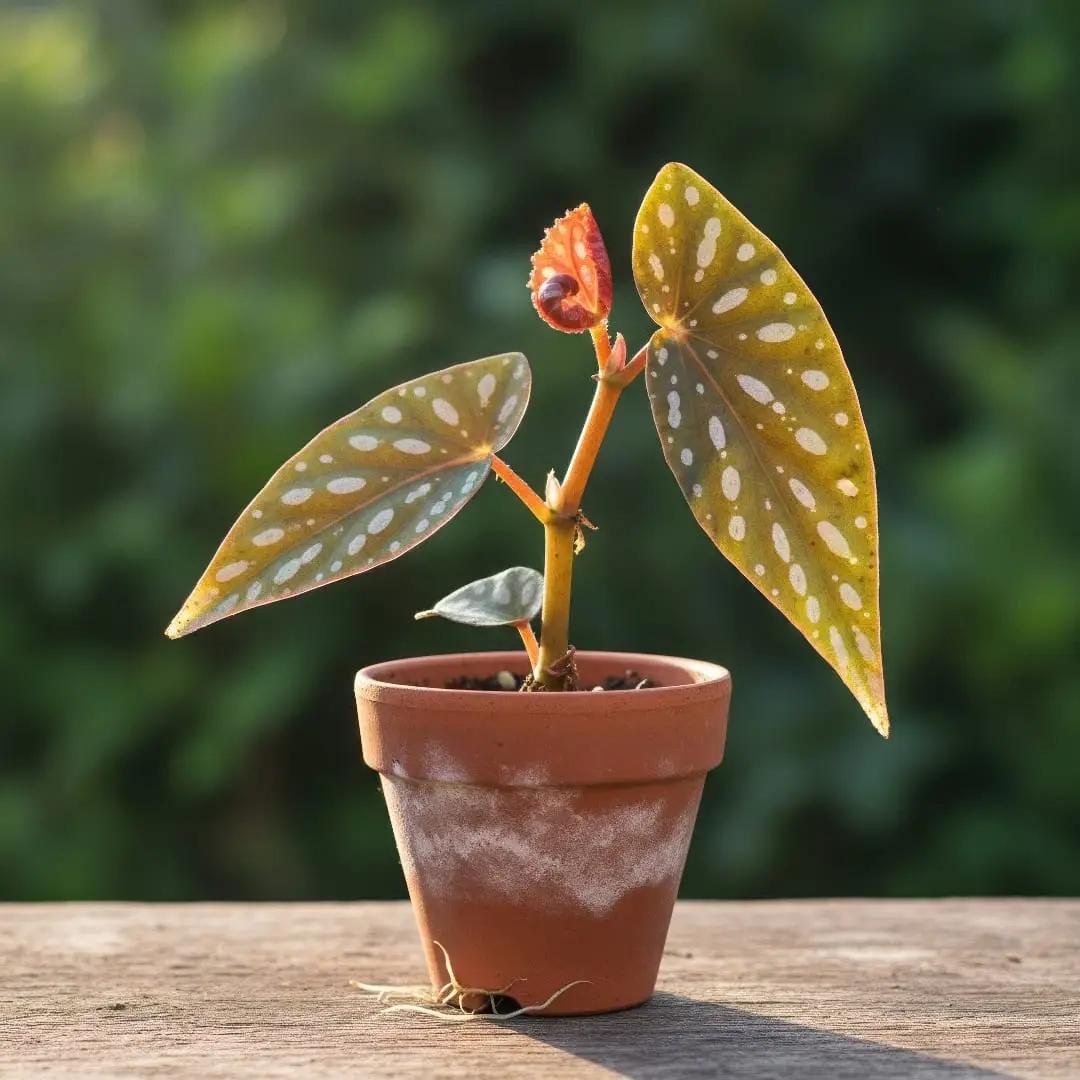
How to Propagate Plants Directly in Soil: A Beginner's Guide
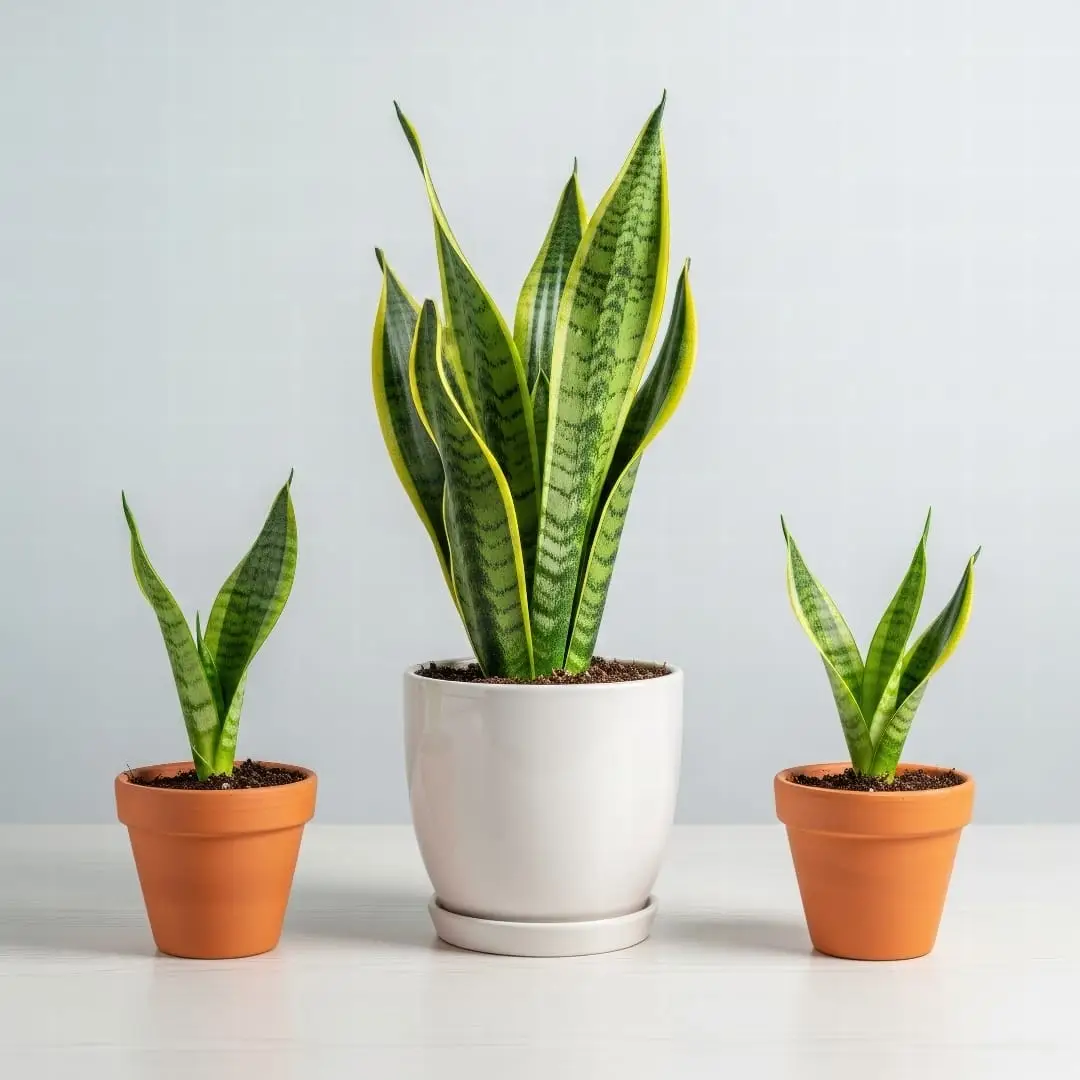
The Complete Guide to Dividing Houseplants: Refresh and Multiply
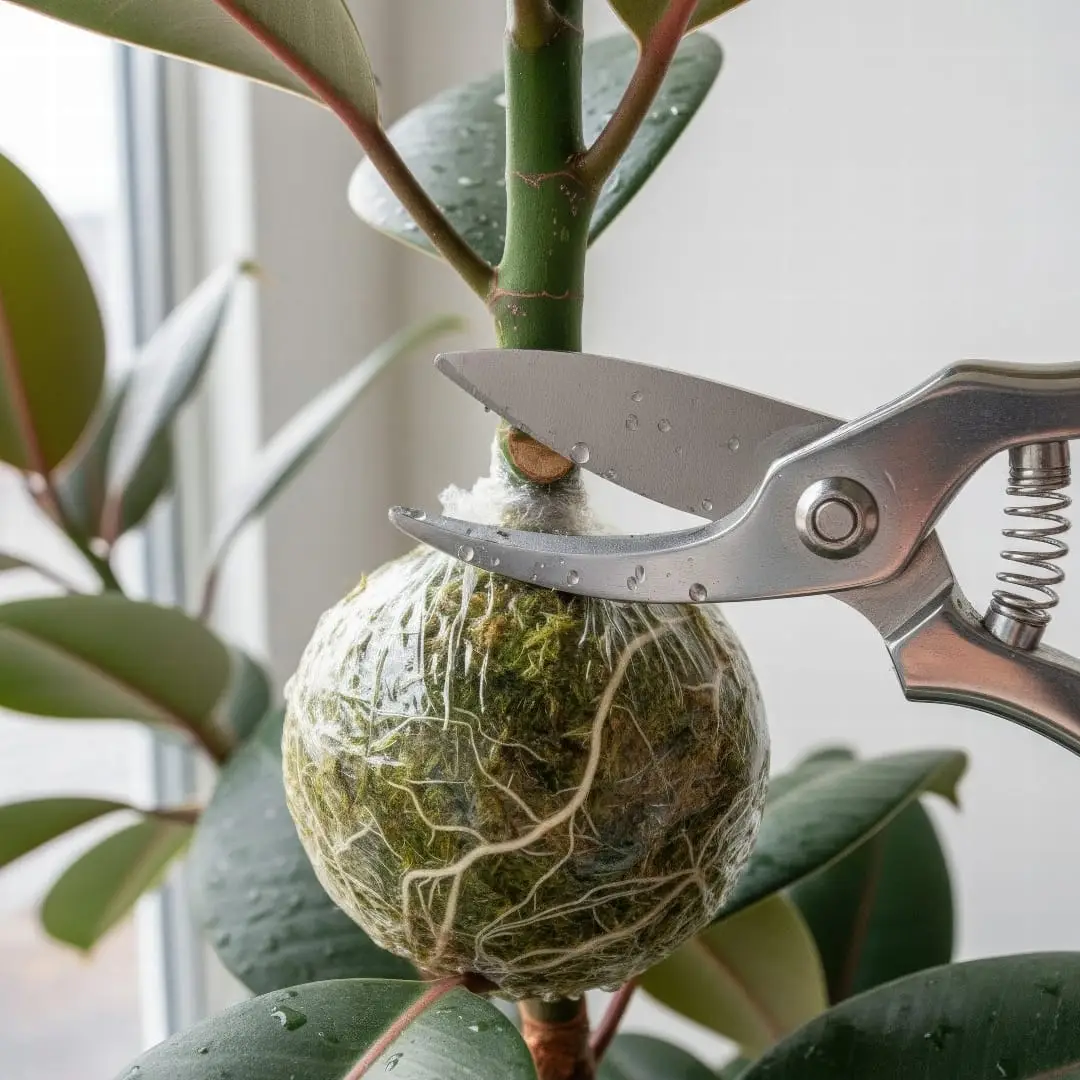
An Introduction to Air Layering for Indoor Trees
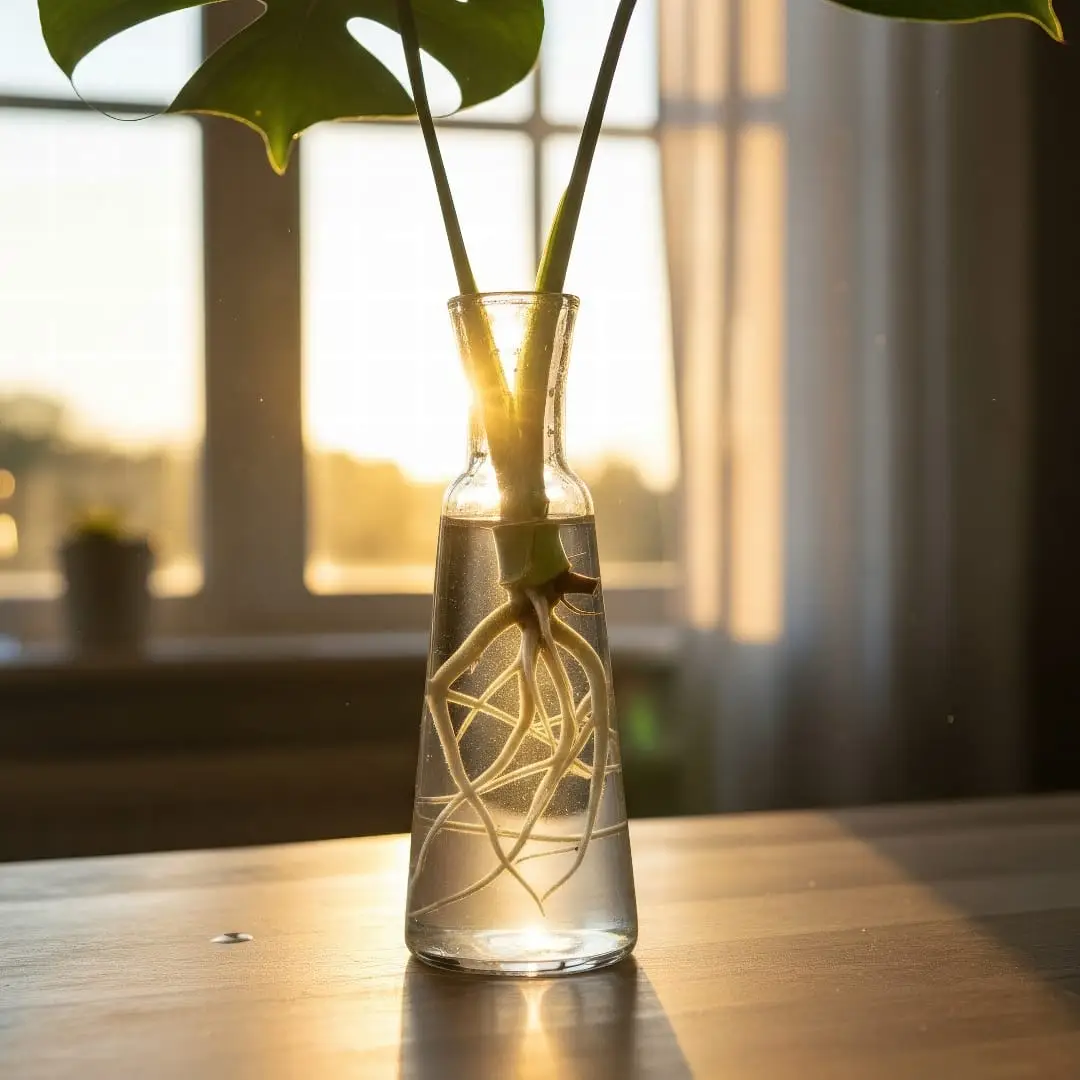
A Step-by-Step Guide to Propagating Plants in Water

How to Use a Moisture Meter (and Never Overwater Again)
Choosing the Right Potting Mix: A Beginner's Soil Guide
The Essential Houseplant Care Checklist & Routine

Houseplant101 Forum
Questions & Comments
Ask a question, share your plant experience, or help other plant owners.
Comments are temporarily unavailable.
Open the Houseplant101 ForumNo comments yet
Be the first to ask a question or share your experience about this page.
Log in or create an account
Comments use your Houseplant101 Forum account, but you can stay on this page.
Create a new account