Beginner Tips: How to Keep a Houseplant Alive and Well
Light is life. Even shade-loving plants need at least indirect sunlight to photosynthesize. Supplement dark corners with grow lights.
Ditch the watering schedule. Overwatering kills more plants than underwatering. Check soil moisture before quenching your plant’s thirst.
Fluffy soil is happy soil. Dense potting mix suffocates roots. Add perlite or vermiculite to lighten it up. Some plants demand special soil, so read plant care tags.
Start small, grow big. Begin with hardy plants like pothos or ZZ plant to build confidence. Save the fussy divas like fiddle leaf figs for later.
Failure fertilizes wisdom. Killed plants? No sweat. Green thumbs aren’t born, they’re grown through experience. Plants are resilient; keep trying.
Patience, young padawan. Plants operate on a different timetable than humans. Change happens slowly, even if you can’t see it.
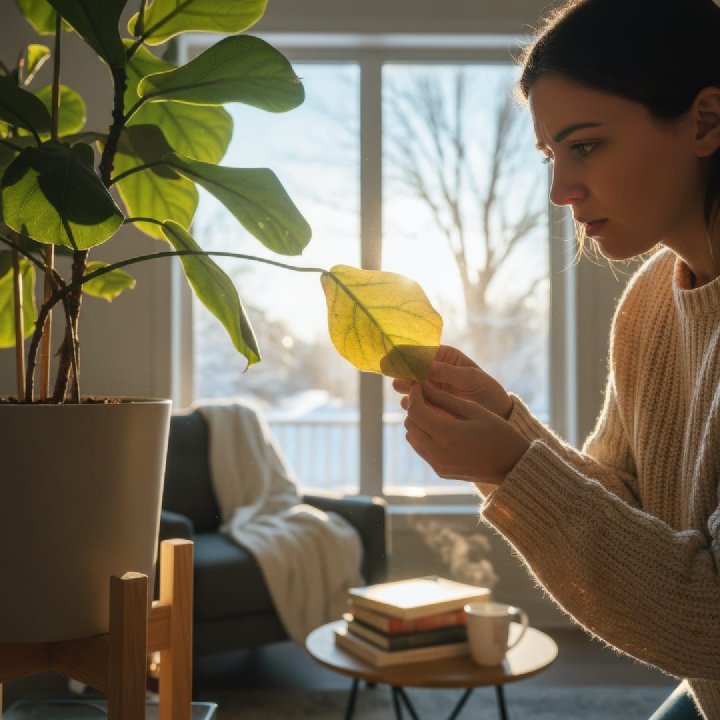
When in doubt, do nothing. A few yellow leaves or dried tips are no biggie. Resist the urge to intervene unless signs of distress persist.
One care routine won’t suit all. Temperature, light and other needs vary. Don’t assume crispy leaves mean the same thing for every plant. Get to know their individual needs.
🪴 Houseplant 101 🪴
Watering 101
Key Principles of Plant Watering
- Post-Repotting Care: Ensure to water plants immediately after repotting.
- Pot Size Matters: Remember, larger pots retain moisture longer than smaller ones.
- Light Exposure: Plants exposed to more sunlight require more frequent watering.
- Humidity Effect: In humid conditions, soil stays moist for a longer period.
Practical Tips
- Large Plant Watering: Apply water gradually until the soil is fully moist. Wait for the soil to dry before the next watering.
- Small Plant Care: Use a shallow tray method. Fill the tray with about ¼ inch of water and let the plant absorb it over 8 hours, then remove any excess water.
- Adaptable Care: Observe your plant’s reaction to watering and adjust accordingly. While many houseplants thrive with regular watering, some may need less frequent watering.
Light 101
Full Sun Exposure
- Not Ideal for Most Houseplants: Excessive direct sunlight can harm many houseplants.
- Best for Desert Dwellers: Desert cacti and some succulents thrive in full sun, preferring bright conditions.
- Location Tip: South-facing windows offer the most intense sunlight.
Partial Sunlight and Shade
- Balanced Exposure: A few hours of sun, particularly morning or evening light, is beneficial.
- Ideal Placement: Near east or west-facing windows to avoid harsh midday sun.
- Perfect for Flowering Plants: Many flowering houseplants flourish in this light.
Full Shade or Low Light
- Limited Growth in Shade: Flowering plants generally don’t thrive in low light.
- Ideal for Beginners: Some species like the cast iron plant, mother-in-law’s tongue, dragon tree, and ZZ plant do well in these conditions.
- North-Facing Windows: Offer full shade, but room size and window count can affect light intensity.
Bright without Direct Sun
- Foliage and Flowering Plants: Most prefer bright, indirect light.
- Optimal Location: South-facing windows, with plants placed a few feet back. East and west-facing windows can also work if they allow ample daylight without direct midday or early evening sun.
Humidity 101
Humidifiers
Tabletop and Room Humidifiers: Use a small humidifier for close proximity to plants or a larger one to increase room humidity.
Grouping Plants
Creating a Microclimate: Cluster your plants together. They naturally release moisture, creating a more humid environment around them.
Wet Pebble Trays
Localized Humidity: Fill a tray with stones and water and place it under your plant pots. This helps maintain a consistent humidity level around each plant.
Humidity Domes
Temporary Enclosures: Cover plants with a dome to trap moisture. Remember to remove the dome periodically for air circulation.
Fine-misting
Short-term Solution: Mist plants in bright, well-ventilated areas. This temporarily raises humidity but should not be the sole method.
Double Potting
Moss for Moisture: Place your plant in a larger pot and fill the gaps with damp sphagnum moss. This helps retain moisture around the plant.
Fertilizing 101
Timing is Key
Spring Fertilizing: This is the prime time for fertilizing as plants experience significant growth. Fast-growing species like begonias need more frequent feeding compared to slower growers like cacti.
Fertilizer Dilution
Less is More: It’s safer to under-fertilize than overdo it. If your plants haven’t been fertilized in a while and show signs of nutrient deficiency, you can slightly increase the concentration by reducing water.
Fruit and Flower Plants
Higher Nutrient Needs: These plants require more nutrients, especially when they produce fruits or flowers, which deplete their resources.
Understanding N-P-K Values
Nutrient Ratios: Look for the N-P-K (Nitrogen, Phosphorus, Potassium) ratio on your fertilizer package, like 10-15-10. These figures are crucial for balanced plant nutrition.
Importance of Micronutrients
Small but Vital: Though required in smaller amounts, micronutrients are essential for various plant functions. Ensure your fertilizer includes these.
Choosing Between Organic and Chemical Fertilizers
Personal Preference: Organic options should contain beneficial organisms, while chemical fertilizers provide a precise nutrient balance. For beginners, chemical fertilizers might be more straightforward to use.
Repotting 101
Removing the Plant
Gently Slide Out: Hold your plant by the stems or leaves and tap the bottom of its current pot. If needed, lightly tug at the base of the stems to ease the plant out.
Root Care
Loosen and Prune Roots: Gently untangle the roots with your hands. Trim any overly long, thin roots, but keep the thicker roots near the base intact. For root-bound plants, carefully unwind and trim the roots.
Refresh the Potting Mix
Discard Old Mix: Remove about one-third of the existing potting mix. This is important as the plant has likely depleted the nutrients in this soil.
Preparing the New Pot
Fresh Soil and Drainage: Add a layer of new potting mix to the new planter, ensuring no air pockets remain. If the planter lacks drainage holes, start with a layer of lava rocks or gravel at the bottom for water management.
Planting
Center and Secure: Place the plant in the new planter, centering it. Then, add more potting mix around the plant for stability, being careful not to overpack as roots need air circulation.
Final Touches
Water Thoroughly: Level the topsoil, give the plant a good watering, and enjoy your freshly repotted houseplant!
Temperature 101
Ideal Conditions
- Tropical Origins: Many houseplants come from warm tropical or sub-tropical regions, making standard room temperatures ideal for their growth.
- Optimal Temperature Range: Most houseplants thrive in temperatures between 60 – 75°F (15 – 24°C). This range aligns well with typical indoor environments like homes and offices.
Managing High Temperatures
- Above 75°F (24°C): Enhance humidity through spray misting, especially if the temperature exceeds the plant’s recommended level.
- Indoor vs. Outdoor: Temperatures above 75°F (24°C) may be less tolerable indoors due to lower air humidity and differing sunlight conditions compared to outdoors.
Dealing with Low Temperatures
- Risk of Damage: Temperatures below the ideal range can significantly harm plant growth and even cause death.
- Water Caution: Be particularly mindful of watering in cooler conditions, as excess water can exacerbate the effects of low temperatures.