🪴 In This Guide 🪴
🎯 Root Rot Emergency? Let's Diagnose the Problem
Quick Diagnostic Chart
Hello, plant friends! Anastasia here. Today we’re talking about the silent killer of houseplants: root rot. This is the most common and most dangerous problem, precisely because the symptoms are so deceptive.
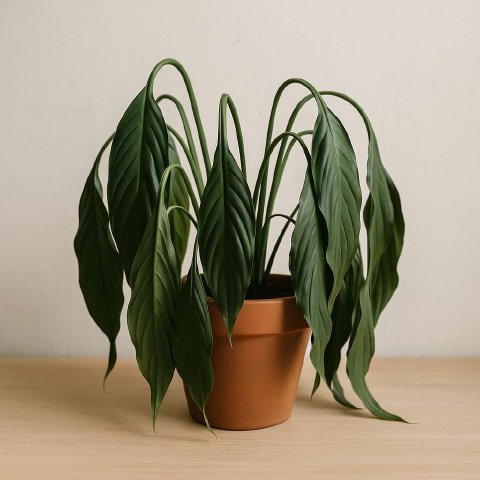
The #1 sign of root rot is a plant that looks like it’s dying of thirst, even when the soil is wet. The problem starts below the ground, so you must look for a combination of clues.
| If you see… | And the soil is… | It’s highly likely… |
|---|---|---|
| Wilting or drooping leaves | Soggy or constantly wet | Root Rot |
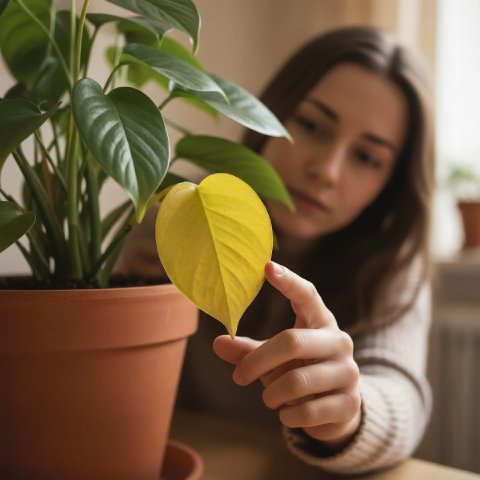
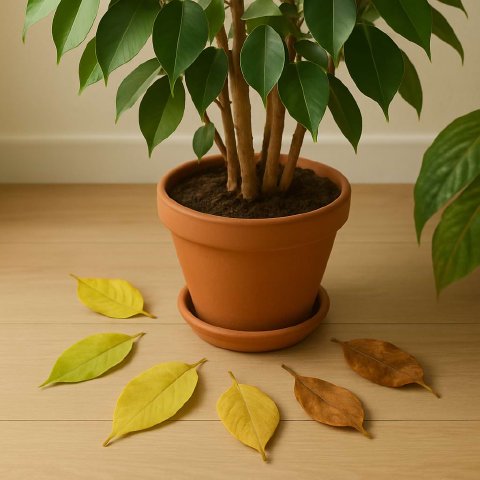
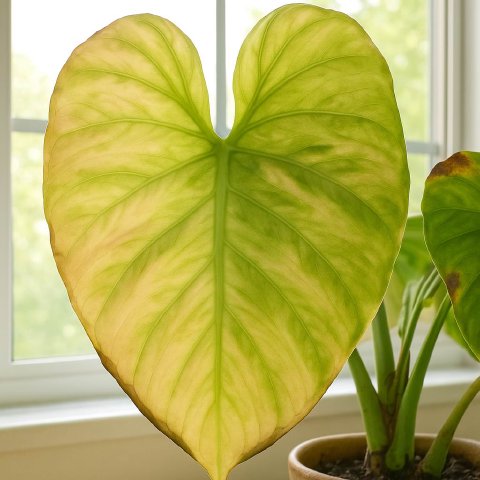
| Yellowing, soft, dropping lower leaves | Wet, maybe with a bad smell | Root Rot |
| Stunted growth and no new leaves for a long time | Never dries out | Root Rot |
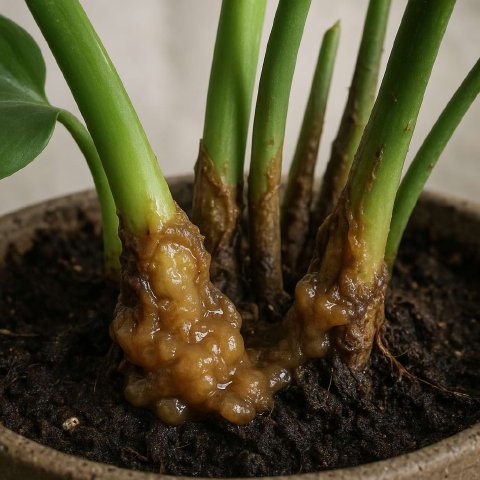
| Black, mushy spots on the stem at the soil line | Wet and compacted | Advanced Root Rot (This is an emergency) |
🤔 What Is Root Rot?
Drowning Below the Surface
Root rot is exactly what it sounds like: the decay and death of a plant’s roots. It’s caused by a lack of oxygen in the soil.
Healthy roots need to “breathe” from tiny air pockets in the soil. When soil is constantly saturated with water (from overwatering, poor drainage, or heavy soil), these air pockets disappear. The roots begin to suffocate and die. These weak, dying roots then become a breeding ground for fungi and bacteria that are naturally present in the soil, which rapidly accelerate the decay.
The ultimate irony is that as the roots rot, they lose their ability to absorb water. This is why the plant’s leaves start to wilt, droop, and yellow-the exact same signs as a thirsty plant.
🌿 The Cause of Root Rot and How to Fix It
The Only Cause: Lack of Oxygen from Waterlogged Soil
While we call it a disease, root rot isn’t something your plant “catches.” It’s a condition created by the environment. The primary culprits are:
- Overwatering: Watering too frequently, before the soil has a chance to dry out.
- Poor Drainage: Using a pot with no drainage holes, or a pot with a saucer that is left full of water.
- Heavy, Dense Soil: Using a potting mix that is not well-aerated, like garden soil, which compacts and holds too much moisture.
How to Check for Root Rot Early detection is key. If you’re unsure about soil moisture, use a moisture meter to check if the bottom of the pot is still wet when the top feels dry. However, you can’t be 100% sure without looking at the roots.
- Gently slide the plant out of its pot.
- Inspect the roots. Healthy roots are firm, plump, and usually white or light tan.
- Rotted roots are dark brown or black, mushy, slimy, and may fall apart when you touch them.
- Smell the soil. A sour or swampy odor is a clear sign of decay.
The Fix: An Emergency Repotting Operation If you have root rot, you must act fast.
Step 1: Unpot and Clean the Roots Take the plant to a sink and gently wash away all the old, infected soil from the root ball. This lets you see the full extent of the damage.
Step 2: Prune the Rot This is the most critical step. Using a pair of clean, sharp scissors or pruning shears (sterilize them with rubbing alcohol), meticulously trim away every single dark, mushy, or slimy root. You must be ruthless. Any rotted root left behind will allow the decay to continue.
Step 3: (Optional) Treat the Remaining Roots If the rot was severe, you can dip the remaining healthy roots in a solution of one part 3% hydrogen peroxide to two parts water. This can help kill off any lingering bacteria or fungal spores.
Step 4: Repot into Fresh Soil Dispose of all the old, contaminated soil. Repot the plant into a clean pot (if you reuse the old one, scrub it with soap and hot water first) with fresh, well-draining, and appropriate potting mix. If the plant has lost a lot of its root mass, it’s best to use a smaller pot that just fits the remaining roots.
Step 5: Post-Op Care Water the freshly potted plant lightly. Do not drench it. Place it in a spot with bright, indirect light and avoid fertilizing for at least a month. The plant is in a fragile state, so be patient while it recovers.
🛡️ How to Prevent Root Rot in the Future
Best Practices for Healthy Roots
- Always Use Pots with Drainage Holes: This is non-negotiable. If you love a decorative pot without holes, use it as a “cachepot” by placing a smaller plastic pot with drainage inside it.
- Water Based on Need, Not a Schedule: Before you water, stick your finger 2 inches into the soil. If it’s still moist, wait. Let the top layer of soil dry out between waterings.
- Use the Right Soil: Use a high-quality potting mix designed for houseplants. Avoid heavy garden soil. Amend your mix with perlite or orchid bark to increase aeration for plants that need it.
- Empty the Saucer: After watering, let the plant drain for 15-20 minutes, then dump out any excess water that has collected in the saucer. Never let a plant sit in a puddle of water.
- Choose the Right Pot Size: When repotting, only go up 1-2 inches in diameter. A pot that is too large holds too much soil and moisture, creating a prime environment for rot.
